Appearance
Data Science with Jupyter Notebooks on Yellowbrick
Description
Python is a popular programming language used to analyze datasets. Jupyter Notebooks provide an interactive environment to write, test, and share code. In this tutorial, we will show you how to use these popular tools to connect to Yellowbrick and analyze data.
Learning Objectives
After completing this tutorial, you will understand:
- How to configure a Jupyter Notebook environment to connect to Yellowbrick Data Warehouse.
- How to use Python statements to run queries and analyze data stored in Yellowbrick from your notebook.
Prerequisites
To complete this tutorial, you will need:
- Access to a Yellowbrick database instance and an active cluster.
- A Jupyter Notebook environment from Google Colab, another notebook service, or a local notebook installation.
- Network connectivity from your Jupyter Notebook environment to your Yellowbrick database.
Step-by-step Guide
1. Prepare Your Yellowbrick Database
Log in to Yellowbrick Manager Portal
Go to your Yellowbrick Manager and log in with your credentials.
Prepare the Database Objects for This Exercise
a. Open the query editor window in Yellowbrick Manager and run the SQL statements below:
SQLdrop schema if exists zillow_pi cascade; drop schema if exists zillowpi cascade; drop schema if exists zillohvi cascade; drop schema if exists zillowhvi cascade; create schema if not exists zillowhvi; grant all on schema zillowhvi to public; grant usage on schema zillowhvi to public; set schema 'zillowhvi'; drop table if exists homevalueindex; drop table if exists hvibyyear; drop external location if exists zhvis3loc; drop external format if exists zhvis3format; drop external storage if exists zhvis3data cascade; create table homevalueindex ( idxState CHAR(24), idxDate date, idxValue decimal(8,2) ) distribute replicate; CREATE TABLE hvibyyear ( idxstate character(24), idxyear int, idxvalue numeric(8,2) ) DISTRIBUTE REPLICATE; CREATE EXTERNAL FORMAT zhvis3format TYPE csv WITH (delimiter ',', linesep '\n', quote_char '"', escape_char '\', num_header_lines '1'); CREATE EXTERNAL STORAGE "zhvis3data" TYPE s3 ENDPOINT 'https://s3.us-east-1.amazonaws.com' REGION 'us-east-1'; CREATE EXTERNAL LOCATION "zhvis3loc" PATH 'yb-sample-data' EXTERNAL STORAGE "zhvis3data" EXTERNAL FORMAT "zhvis3format"; LOAD TABLE "zillowhvi"."homevalueindex" FROM ('zhvi.csv') EXTERNAL LOCATION "zhvis3loc" EXTERNAL FORMAT "zhvis3format" WITH (read_sources_concurrently 'ALLOW'); INSERT INTO zillowhvi.hvibyyear ( SELECT idxstate, year(idxDate), avg(idxvalue) FROM homevalueindex GROUP BY idxstate, year(idxDate) ORDER BY idxstate, year(idxDate) );b. Verify that the schema
zillowhviand the tablehvibyyearare present and contain data by checking the editor tree on the query editor page.
c. Run the following SQL statement in the query editor or right-click the table name in the object browser and select Explore Data:SQLSELECT count(*) FROM zillowhvi.hvibyyear;
2. Connect and Run Your Python Jupyter Notebook
Prepare Your Jupyter Notebook Environment
a. Go to a Google Colab environment by using your Google account. If you have not used it before, it will automatically create an environment and use your Google Drive to store the notebooks.
OR
a. Use your own Jupyter environment (e.g., Amazon SageMaker Studio Lab or Visual Studio Code).b. Use a notebook that employs Python DataFrames to analyze data stored in Yellowbrick.
c. Upload the file Zillow_YB_Sandbox.ipynb.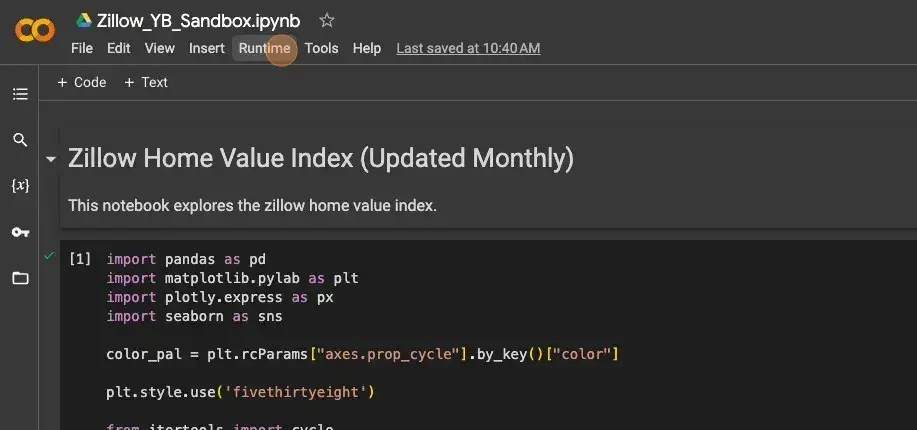
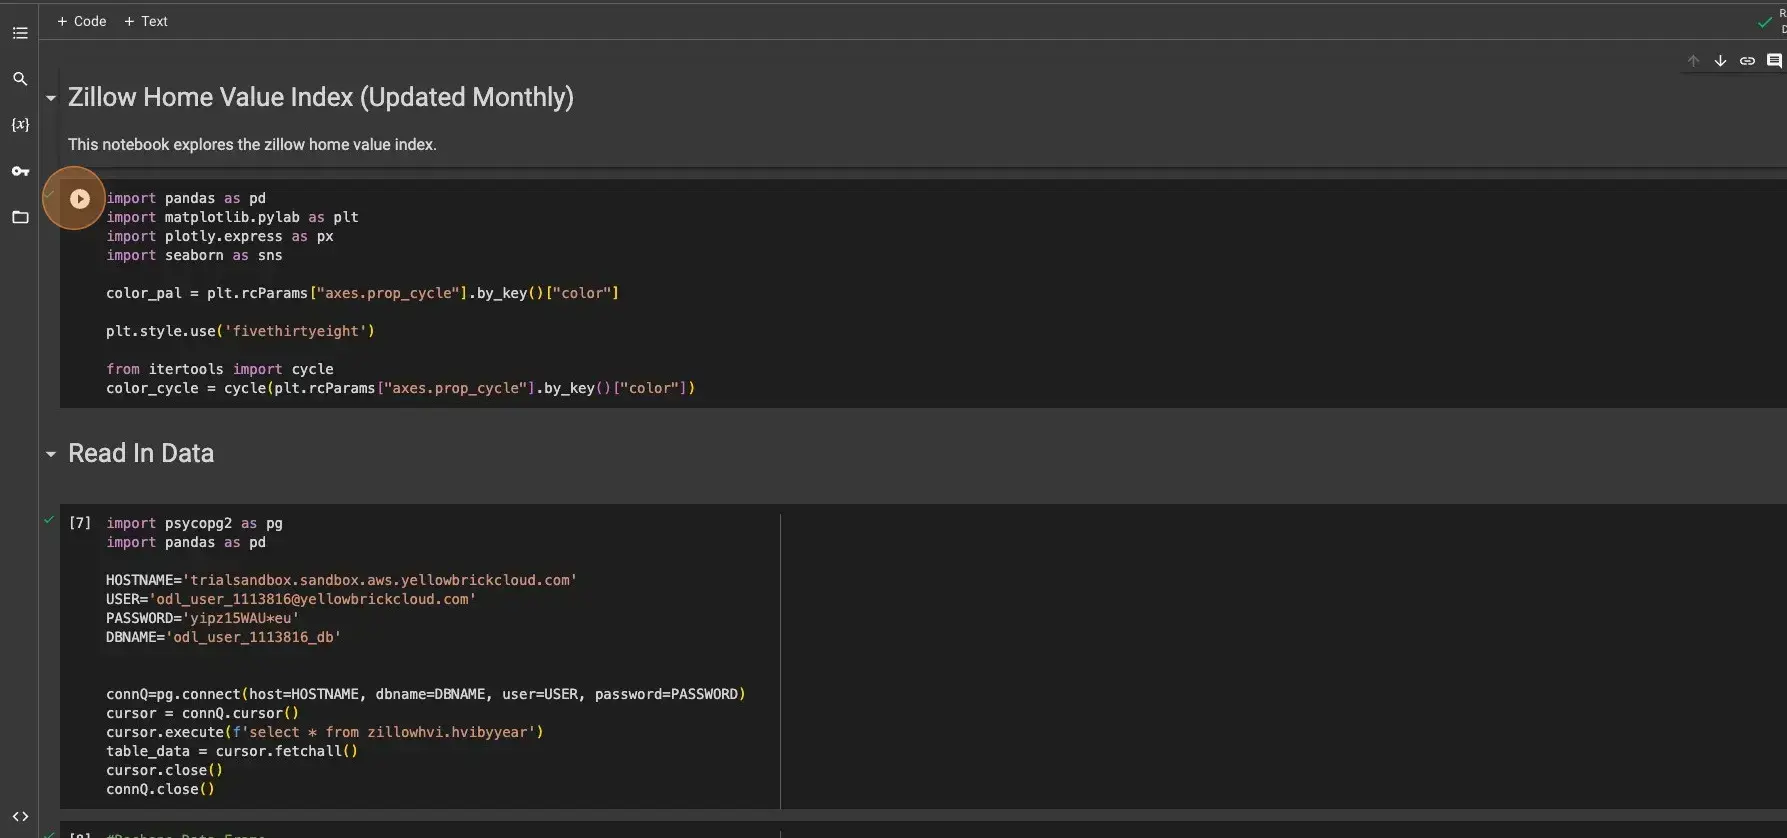
Enter Your Database Credentials
In the Jupyter Notebook, enter the username, password, and database name that you are using. Also, verify the host in the second cell of the notebook, immediately after the Read In Data section.
Final Step
You now have a Python notebook successfully connected to your Yellowbrick database environment for data science tasks. To run the code, go to the Runtime tab and select Run all to run the entire notebook, or execute each cell individually as needed.