Appearance
Using the Yellowbrick MCP Server
Description
Yellowbrick can supercharge your AI Assistant with the Yellowbrick MCP Server. MCP stands for Model Context Protocol. It's a standard created by Anthropic in November 2024. Its goal is to connect AI assistants to the systems where the data lives, including content repositories, business tools, and development environment. There are many AI assistants that allow connections to external tools through this standard.
There are several ways these AI assistants can connect to these servers. The current version of the Yellowbrick MCP server is designed to run locally in a docker container and attach to your AI Assistant through STDIO.
The Yellowbrick MCP Server exposes the following tools to the AI Assistant:
- List Schemas - List all the schemas available in the configured database
- List Tables - List the tables available in the specified schema
- Describe Table - Provides the AI Assistant with all kinds of information about the columns, data types, keys, etc for the named table.
- Get Table Sample - Provides row count and a random sampling of rows from the specified table
- Execute SQL Query - Executes the given SQL statement. In READ_ONLY mode, only SELECT statements are allowed.
- Search Documents - Provides a set of documents and their text most similar to the query. Learn more about using the Yellowbrick Vector Store
The Yellowbrick MCP server has been tested with these AI assistants:
1. Prerequisites
- Get the code from Yellowbrick's GitHub
- Install Docker Desktop installed
- Use an MCP Enabled AI Assistant (like one of the 3 above)
- Obtain login credentials to a Yellowbrick Database
2. Build the Docker Image
- Make sure Docker Desktop is running
- Extract the code from Github into a directory and change into that directory from the command line
- Run
source build.src, or simply type:docker build -t ybmcp .
3. Configure the JSON file
The file mcp.json is a template for the file that your AI Assistant typically needs. It tells the AI Assistant the name of the MCP Server, how to run it, and what to pass in as configuration variables. There are generally three variables you'll need to change:
- YELLOWBRICK_CONNECTION: This is the URL to Yellowbrick and includes the hostname, port, username, password and database. Example:
postgresql://[User]:[PWD]@[HOSTNAME]:[PORT]/[DBNAME] - READ_ONLY: Defaults to
true. Only SELECT Statements can be run. Set tofalseto allow DDL/DML statements. Do so with caution. - OPENAI_API_KEY: This is only required if you want to use the Search Document tool. It is required for generating embeddings based on the query.
- EMBEDDING_TABLE: This is only required if you want to use the Search Document tool. This is the name of the embedding table you used in the Yellowbrick langchain module.
Instead of a JSON file, some tools just require the full command line, in that case, it would be very similar:
docker run -i --rm \
   -e YELLOWBRICK_CONNECTION=postgresql://[user]:[pwd]@[host]:[port]/[dbname] \
   -e OPENAI_API_KEY=sk-XXXXXXXX \
   -e EMBEDDING_TABLE=mcpvdb2 \
   -e READ_ONLY=true \
   ybmcp
4. Copy the JSON into the AI assistants MCP Server configuration
This varies by Assistant. Review the assistants documentation for the exact location. For example, Claude's file on OSX is found at /Users/[Your Username]/Library/Application Support/Claude/claude_desktop_config.json. Restart the Assistant (or start the server)
5. The Yellowbrick tools should now be available within the AI Assistant
| Tool Menu | Yellowbrick Tools |
|---|---|
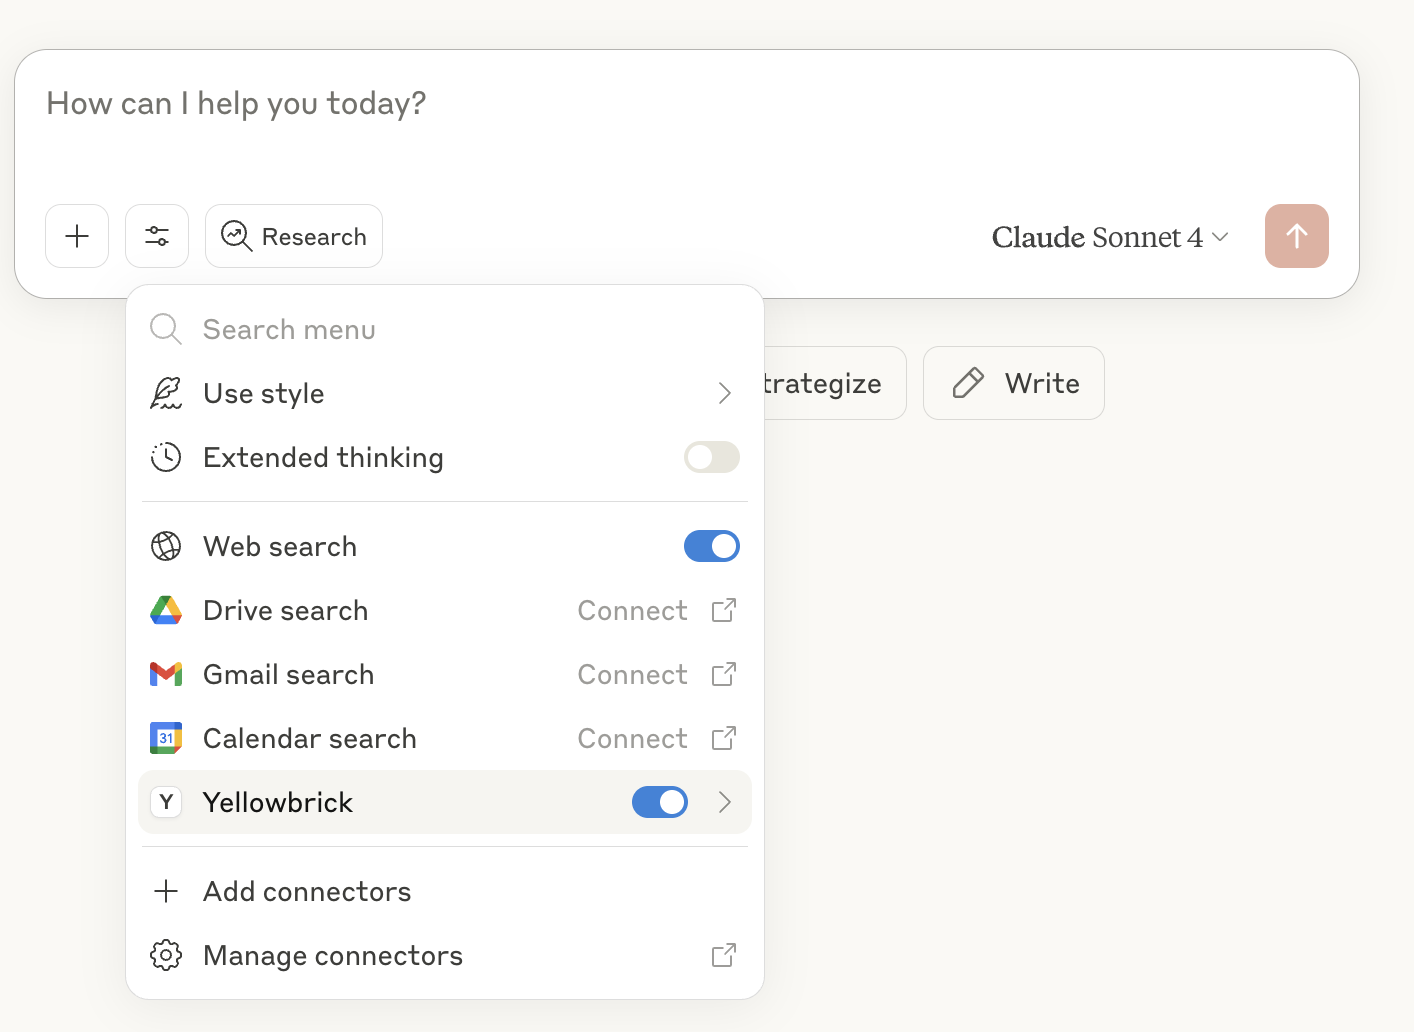 | |
6. Example Questions
If you have the PremDB schema loaded (from samples), try these queries:
- "Using PremDB How many matches ended in a tie?"
- "What is the win/loss record for each team?"
- "Describe the match table?"
- "How many unique teams are there, and whats the most recent team added?"
You can see a saved transcript with Claude Here.