Appearance
Connect to Tableau
Description
This tutorial describes how to connect Yellowbrick to Tableau Desktop.
Tableau is a desktop and cloud based analytics and visualization tool. Although you can connect from Tableau to Yellowbrick with Tableau's built-in Postgresql driver, Yellowbrick offers an optimized driver that makes the connection easier to use and more efficient.
For Tableau Desktop, Yellowbrick utilizes a Tableau Connector (TACO) file to achieve this integration. The TACO file acts as a packaged plugin, providing the necessary drivers and metadata to connect to Yellowbrick’s analytics engine directly from Tableau. By using this connector, users can harness the performance and scalability of Yellowbrick’s database while leveraging Tableau’s visualization capabilities for insightful, real-time analytics.
For Tableau Cloud, simply use the PostgreSQL connector distributed with Tableau.
Downloading and Installing Yellowbrick TACO Driver
These instructions assume you've already installed Tableau Desktop
Download the Tableau .TACO file from Yellowbrick's GitHub repository Yellowbrick GitHub. Or click here for a direct link to download file: yellowbrick-v5.0.0.taco
!!! NOTE: You will also need to install the PostgreSQL JDBC driver. You can download the Java 8 JDBC PostgreSQL driver here: Here.
For Tableau Desktop
Once you have the PostgreSQL Driver JAR file and TACO file downloaded, Copy the TACO file to following directory on the computer running Desktop:
- Mac OS/X: /Users/[userid]/Documents/My Tableau Repository/Connectors
- Windows: C:\Users\[userid]\Documents\My Tableau Repository\Connectorßßßs
And copy the JAR file to the following directory:
- On Mac OS/X: ~/Library/Tableau/Drivers
- On Windows: c:\Program Files\Tableau\Drivers
Configure Yellowbrick Connection
With the Yellowbrick taco file installed, there should be a new connector available under "Connect to a Server": ß 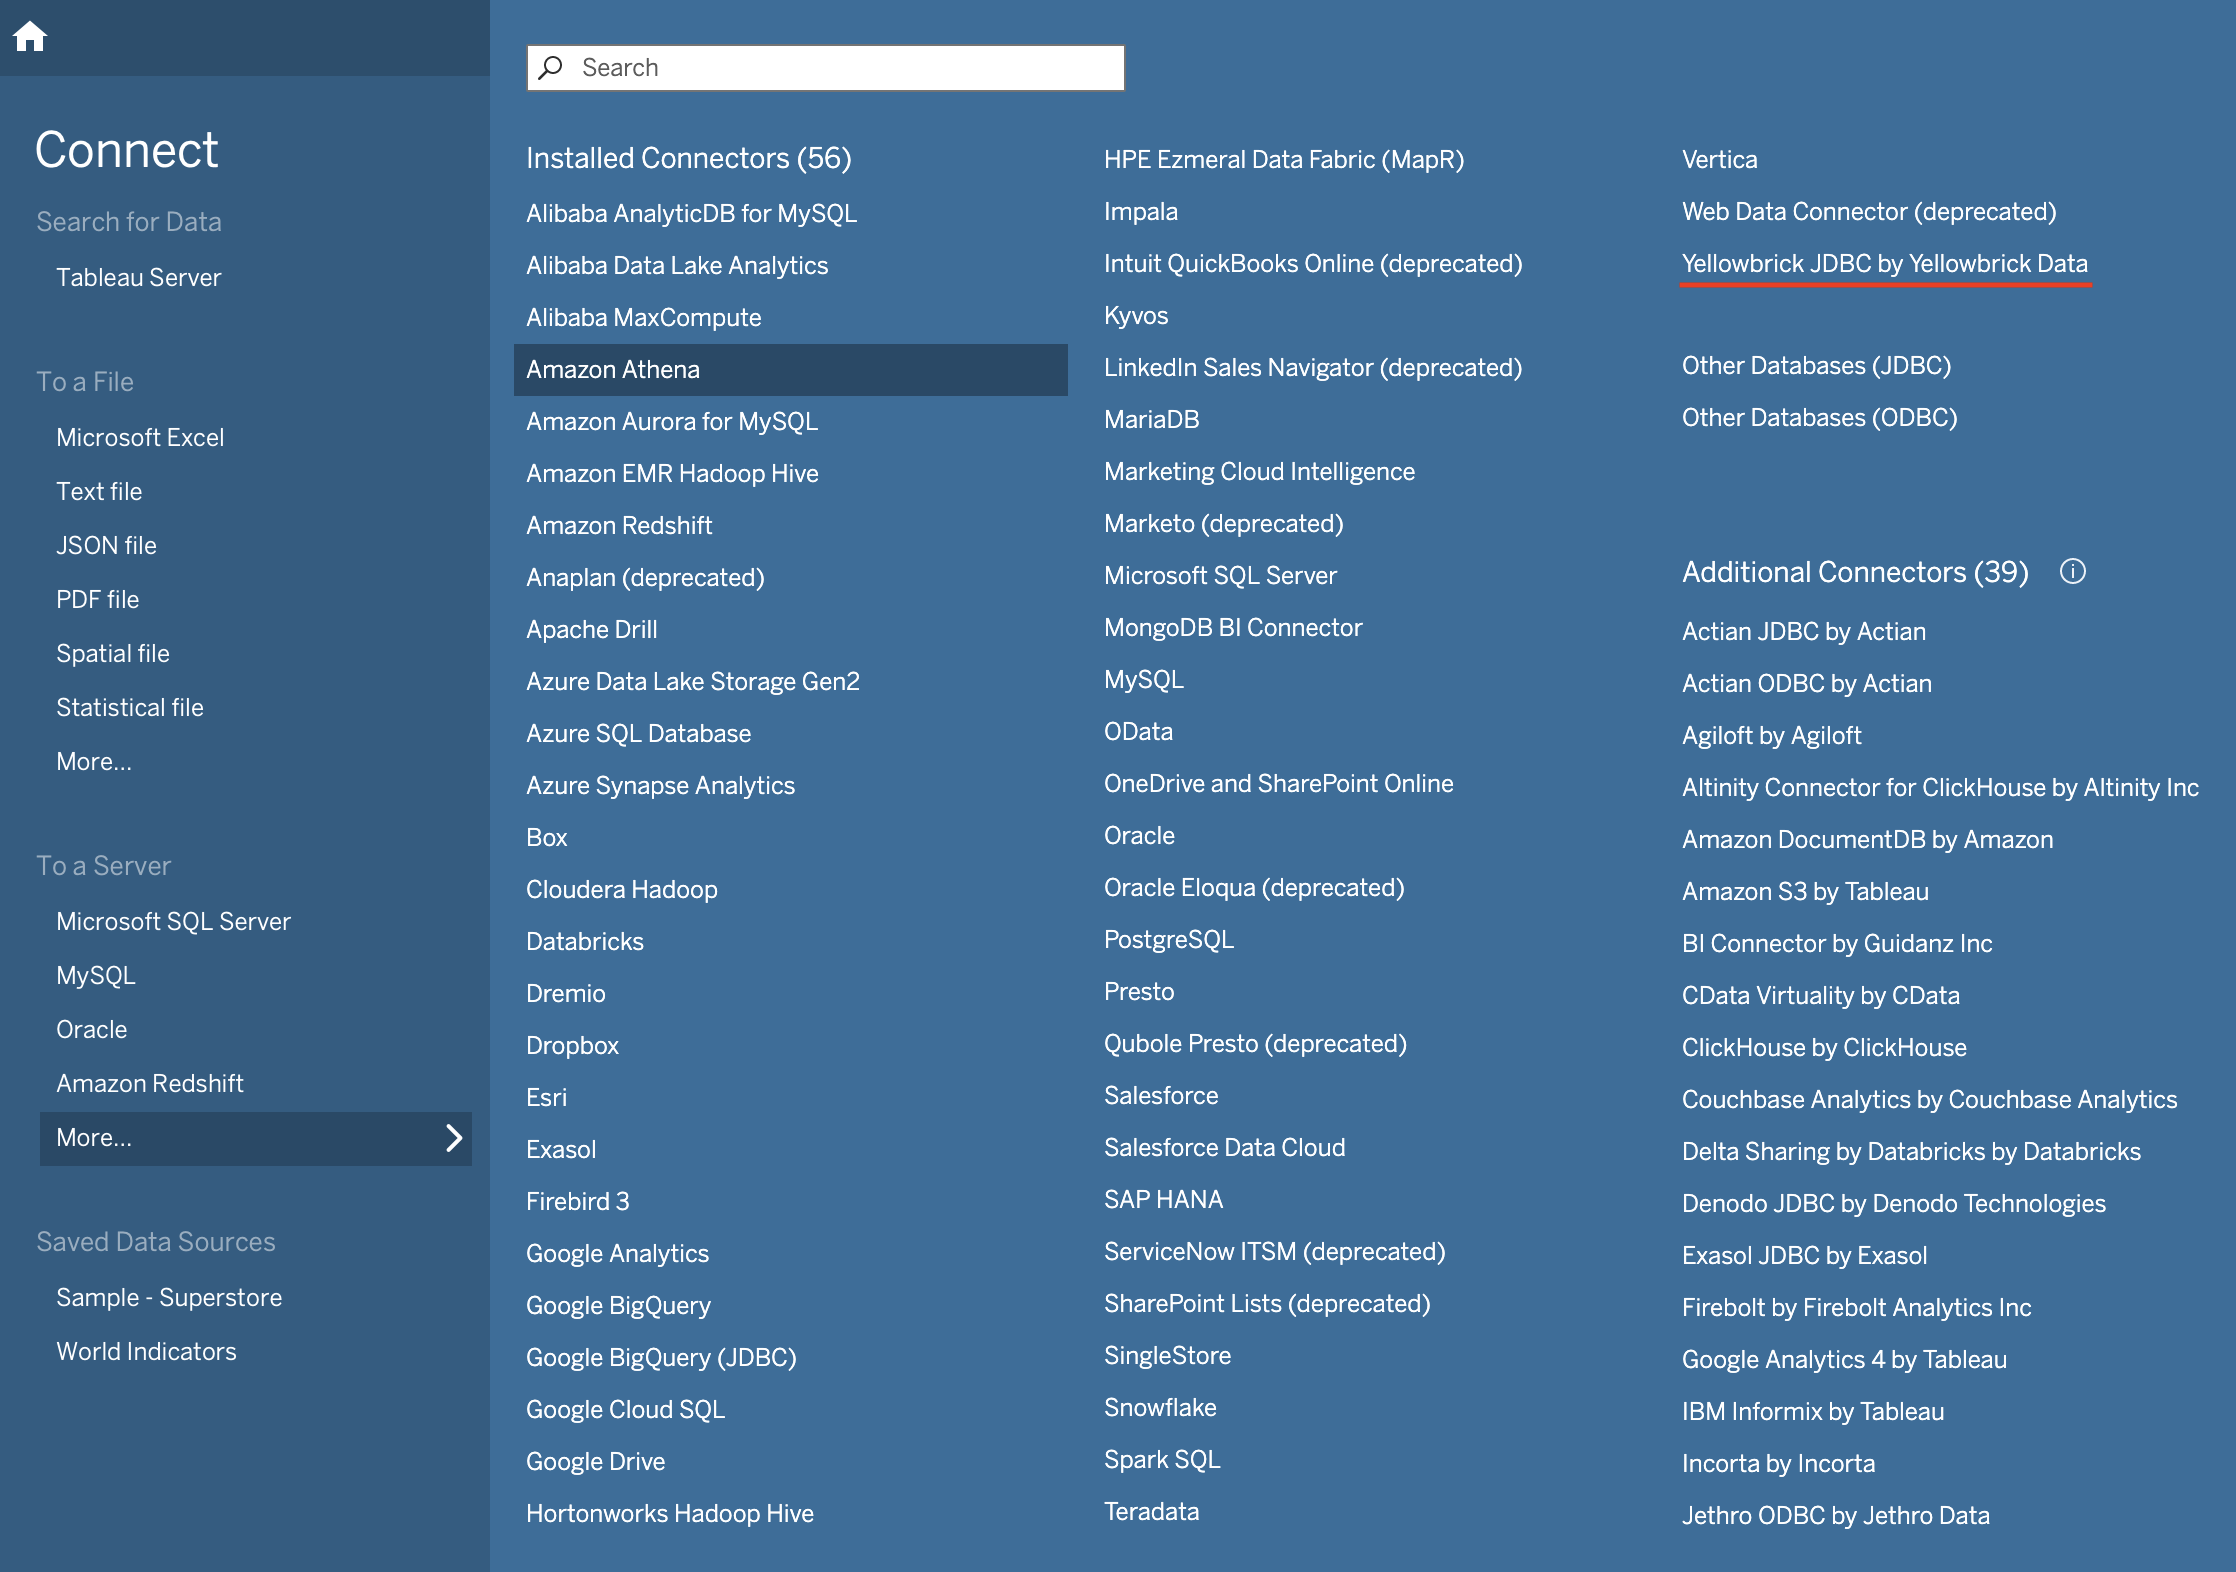
Click on that connection to configure it. You should be presented with this dialog box: 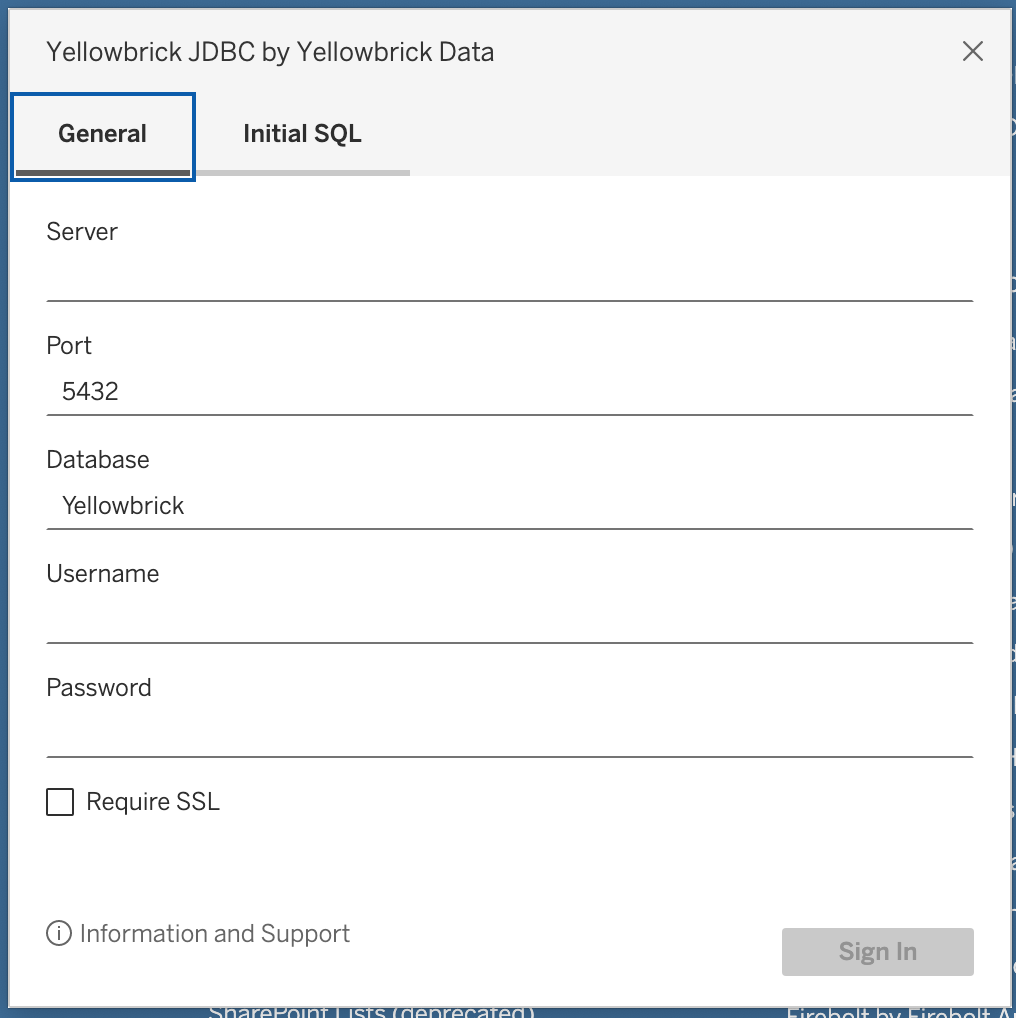
Enter the values of Server, Port, Database, and Username and Password to connect to the Yellowbrick database. If you require SSL, ensure to check that box. When completed, hit Sign In.
The Host/Port for the JDBC and ODBC connections can be found at the Instance Management -> Summary page of the Yellowbrick Manager.
Note: Instance Management is accessible by using the cube icon in the left pane.
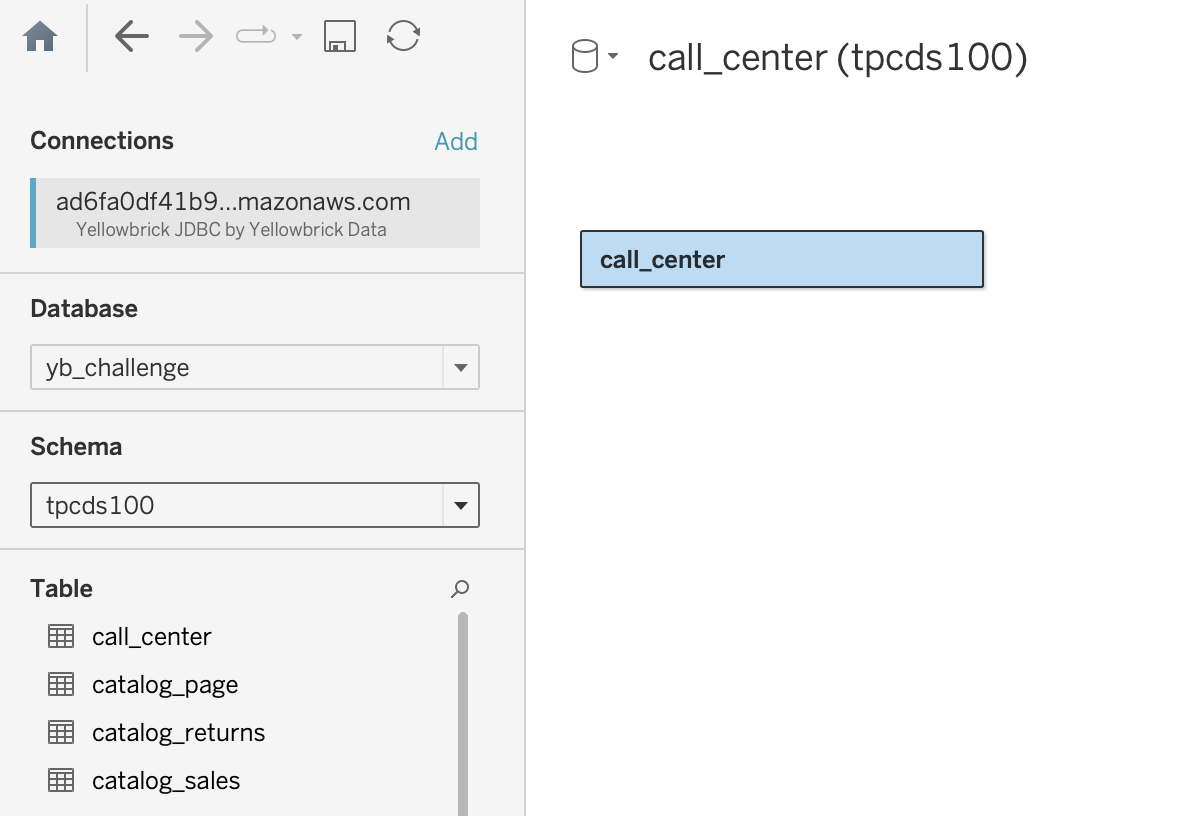
Choose Database, Schema and Tables
Now you can choose Database, Schema and Tables from the drop downs.