Appearance
Creating a New Deployment
This section explains how to use the Azure Resource Manager to install Yellowbrick software images that create and run a Yellowbrick data warehouse in a VNet (either a new VNet with a public network or an existing VNet with a private network). In the Resource Manager, this installation process is known as creating a deployment. Creation of a deployment implies the creation of a number of child deployments that belong to the root deployment, as well as the creation of dependent resources such as roles and buckets.
The expected amount of time to complete a deployment is around 40 minutes.
Install New Template Spec
Download the form definition and entry point of the installer JSON files using the wget command.
Once you have the JSON files, install the template spec using azure-cli:
az ts create --name <template-spec-name> --version 1.0 --resource-group <resource-group-name>-{fistname}-{lastname} --subscription <subscription-name> --location eastus --template-file yb-cdw.json --ui-form-definition formDefinition.jsonImportant: Replace <template-spec-name>, <resource-group-name>, and <subscription-name> with your own information.
Specify Template Specs
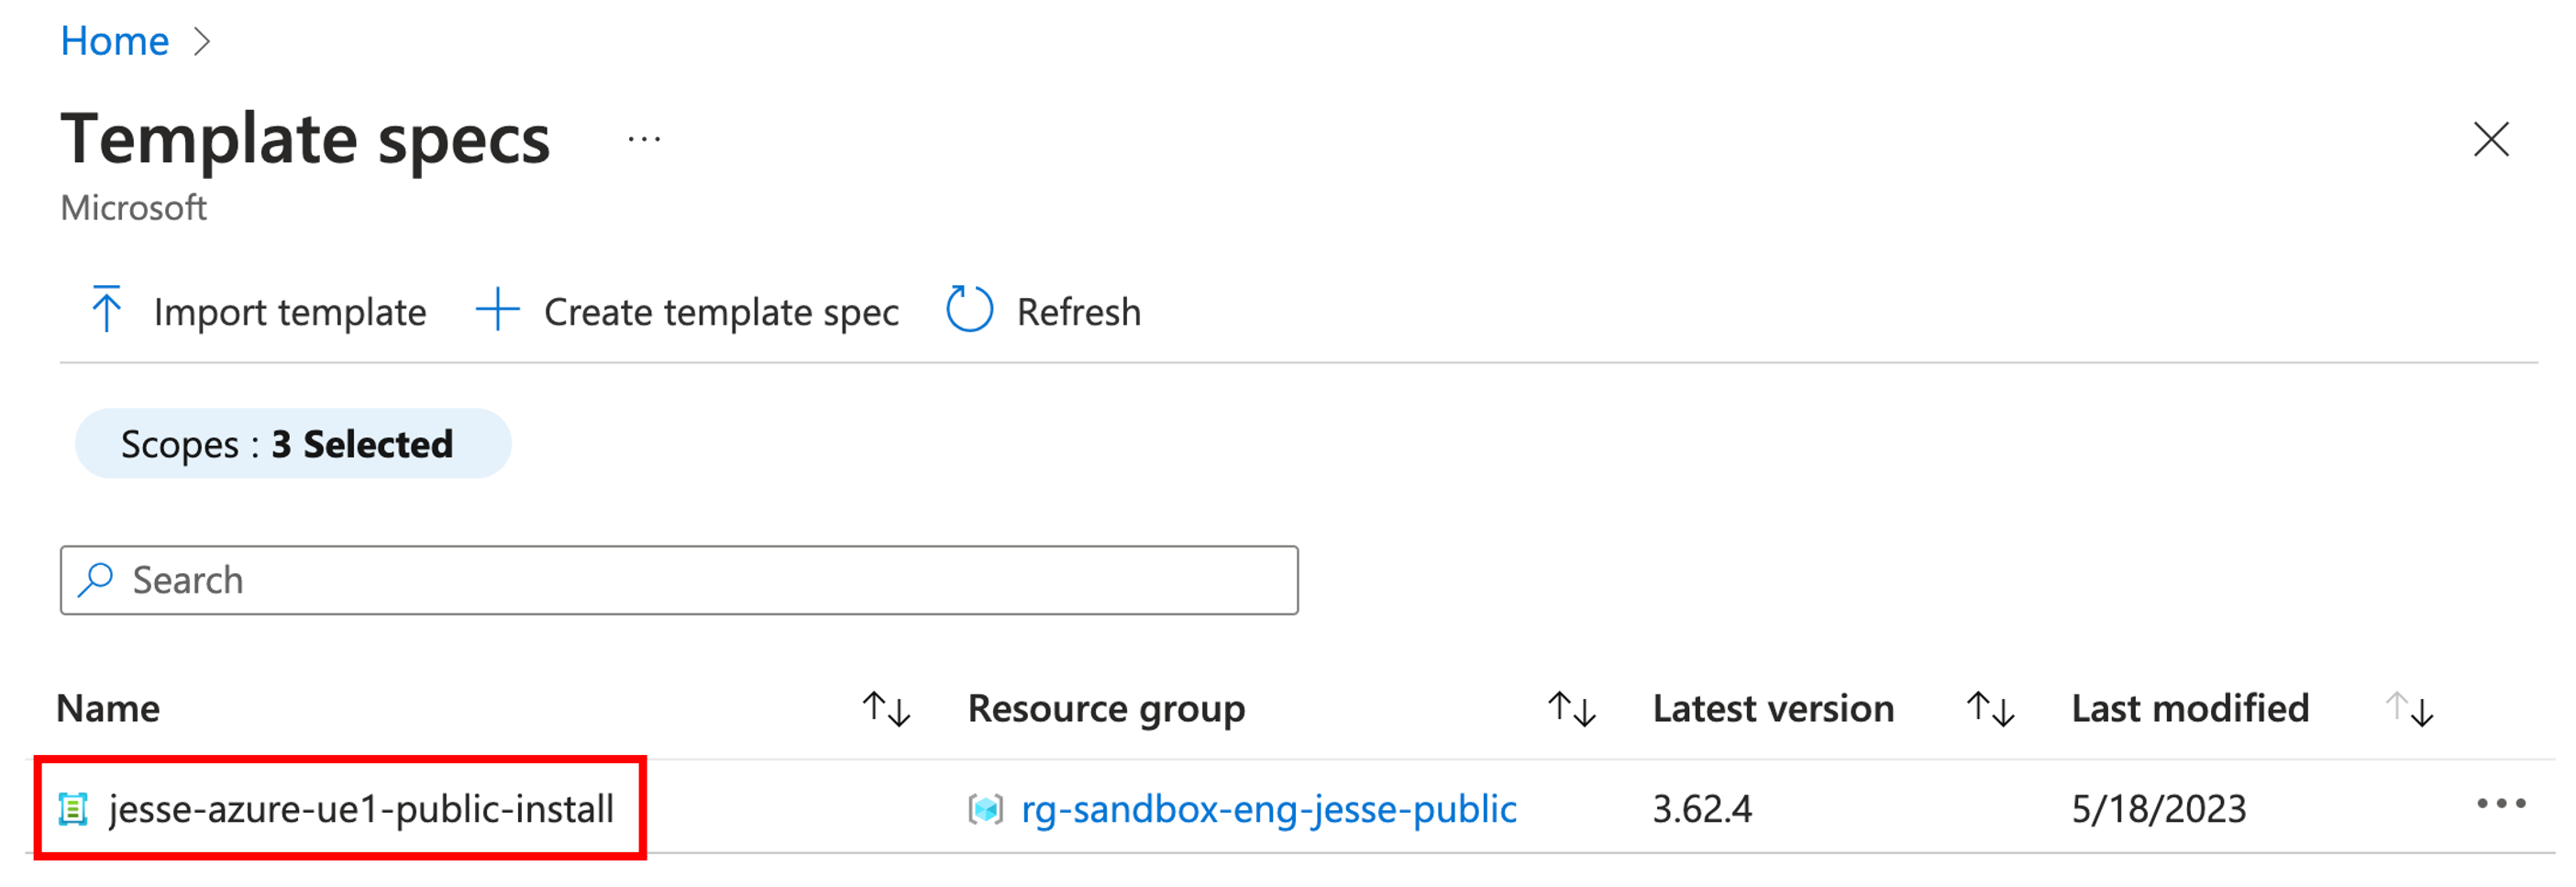
Log into your Azure account and select Template specs.

You should see a list of all available template specs in your resource group, including any newly created specs using the steps from the previous section.
Select the desired template to proceed. For example:
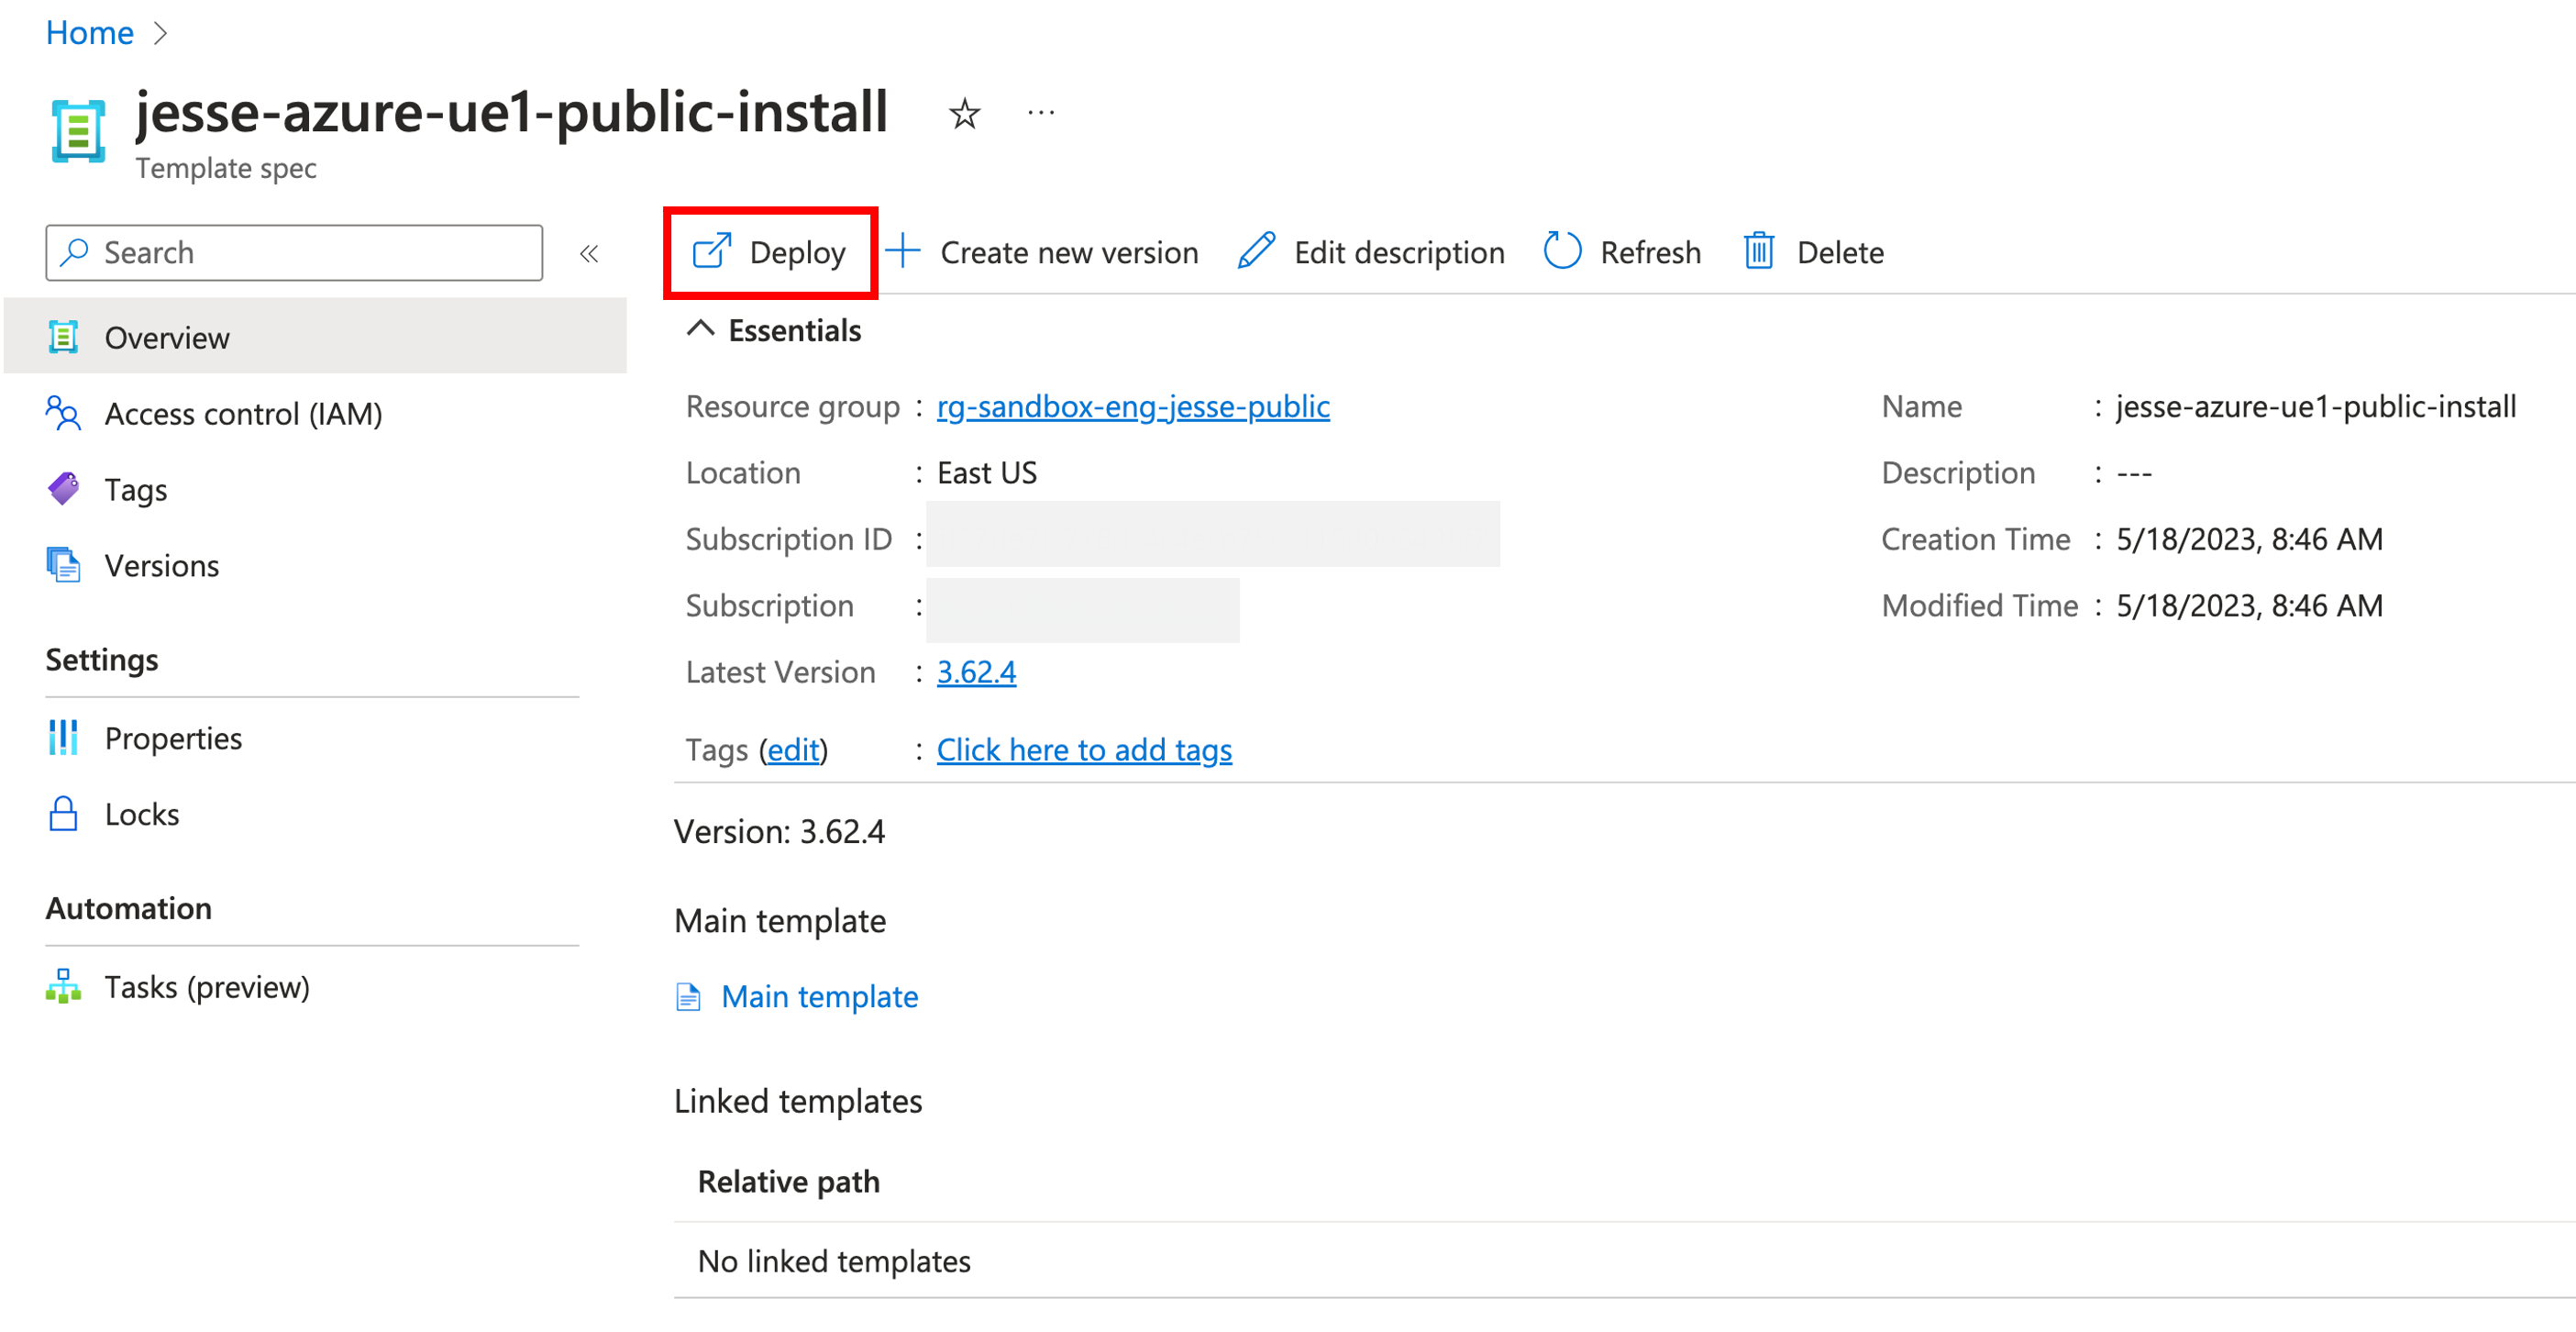
Preparing to Deploy
From the template spec page, select Deploy:
Specifying Project and Instance Details
The Basics panel has two sections:
- Project details: Select the relevant subscription to manage deployed resources and costs and the correct resource group to manage all your resources.
- Instance details: Region will be auto-filled based. It is advisable to name your cluster, but it is not mandatory.
Important: Azure naming conventions, prohibit the use of underscores, special characters, and white space before or after the Cluster Name. Only characters, numbers, and dashes (-) are permitted.
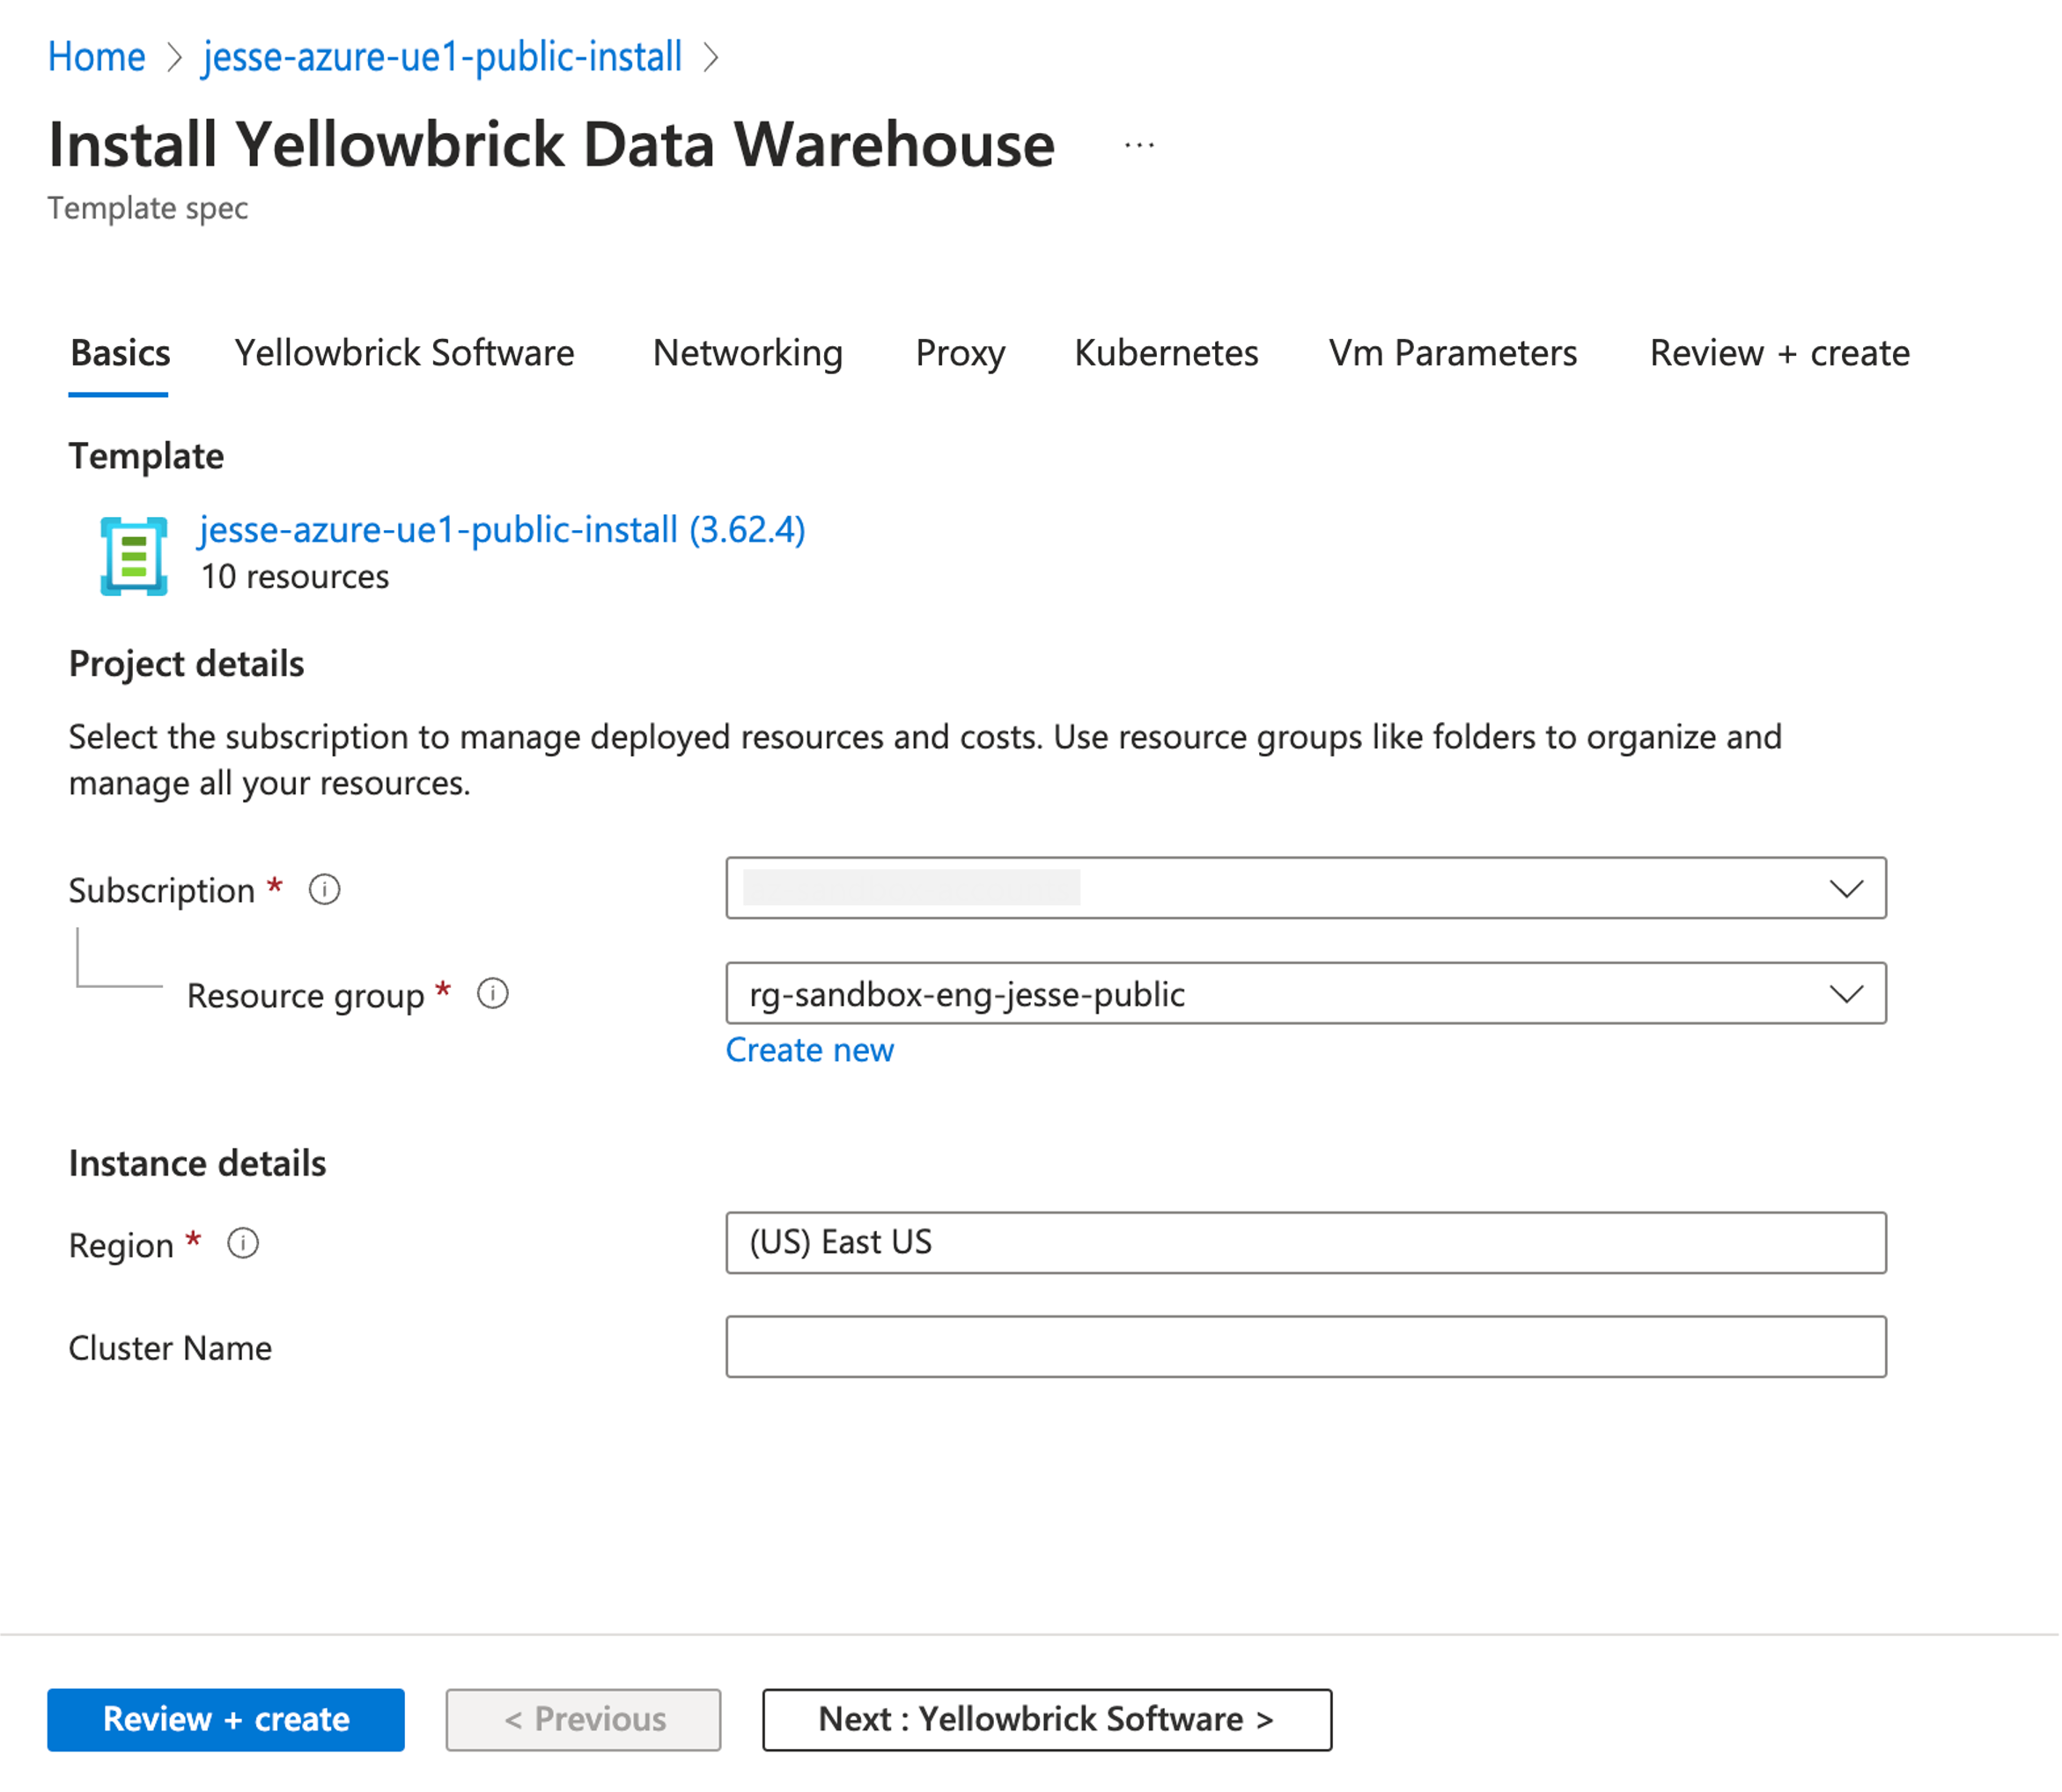
Select Next: Yellowbrick Software to proceed to the next panel.
Yellowbrick Chart and Image Repository
On the Yellowbrick Softwarepanel, select the Yellowbrick repositories where the Helm charts and software images can be retrieved. In this panel four mandatory parameters need to be selected or entered:
- Yellowbrick chart repository and Yellowbrick image repository: Fields should auto-fill.
- Yellowbrick image repository access username and Yellowbrick image repository access password: Credentials to access the image repository provided by the Yellowbrick Customer Support team.
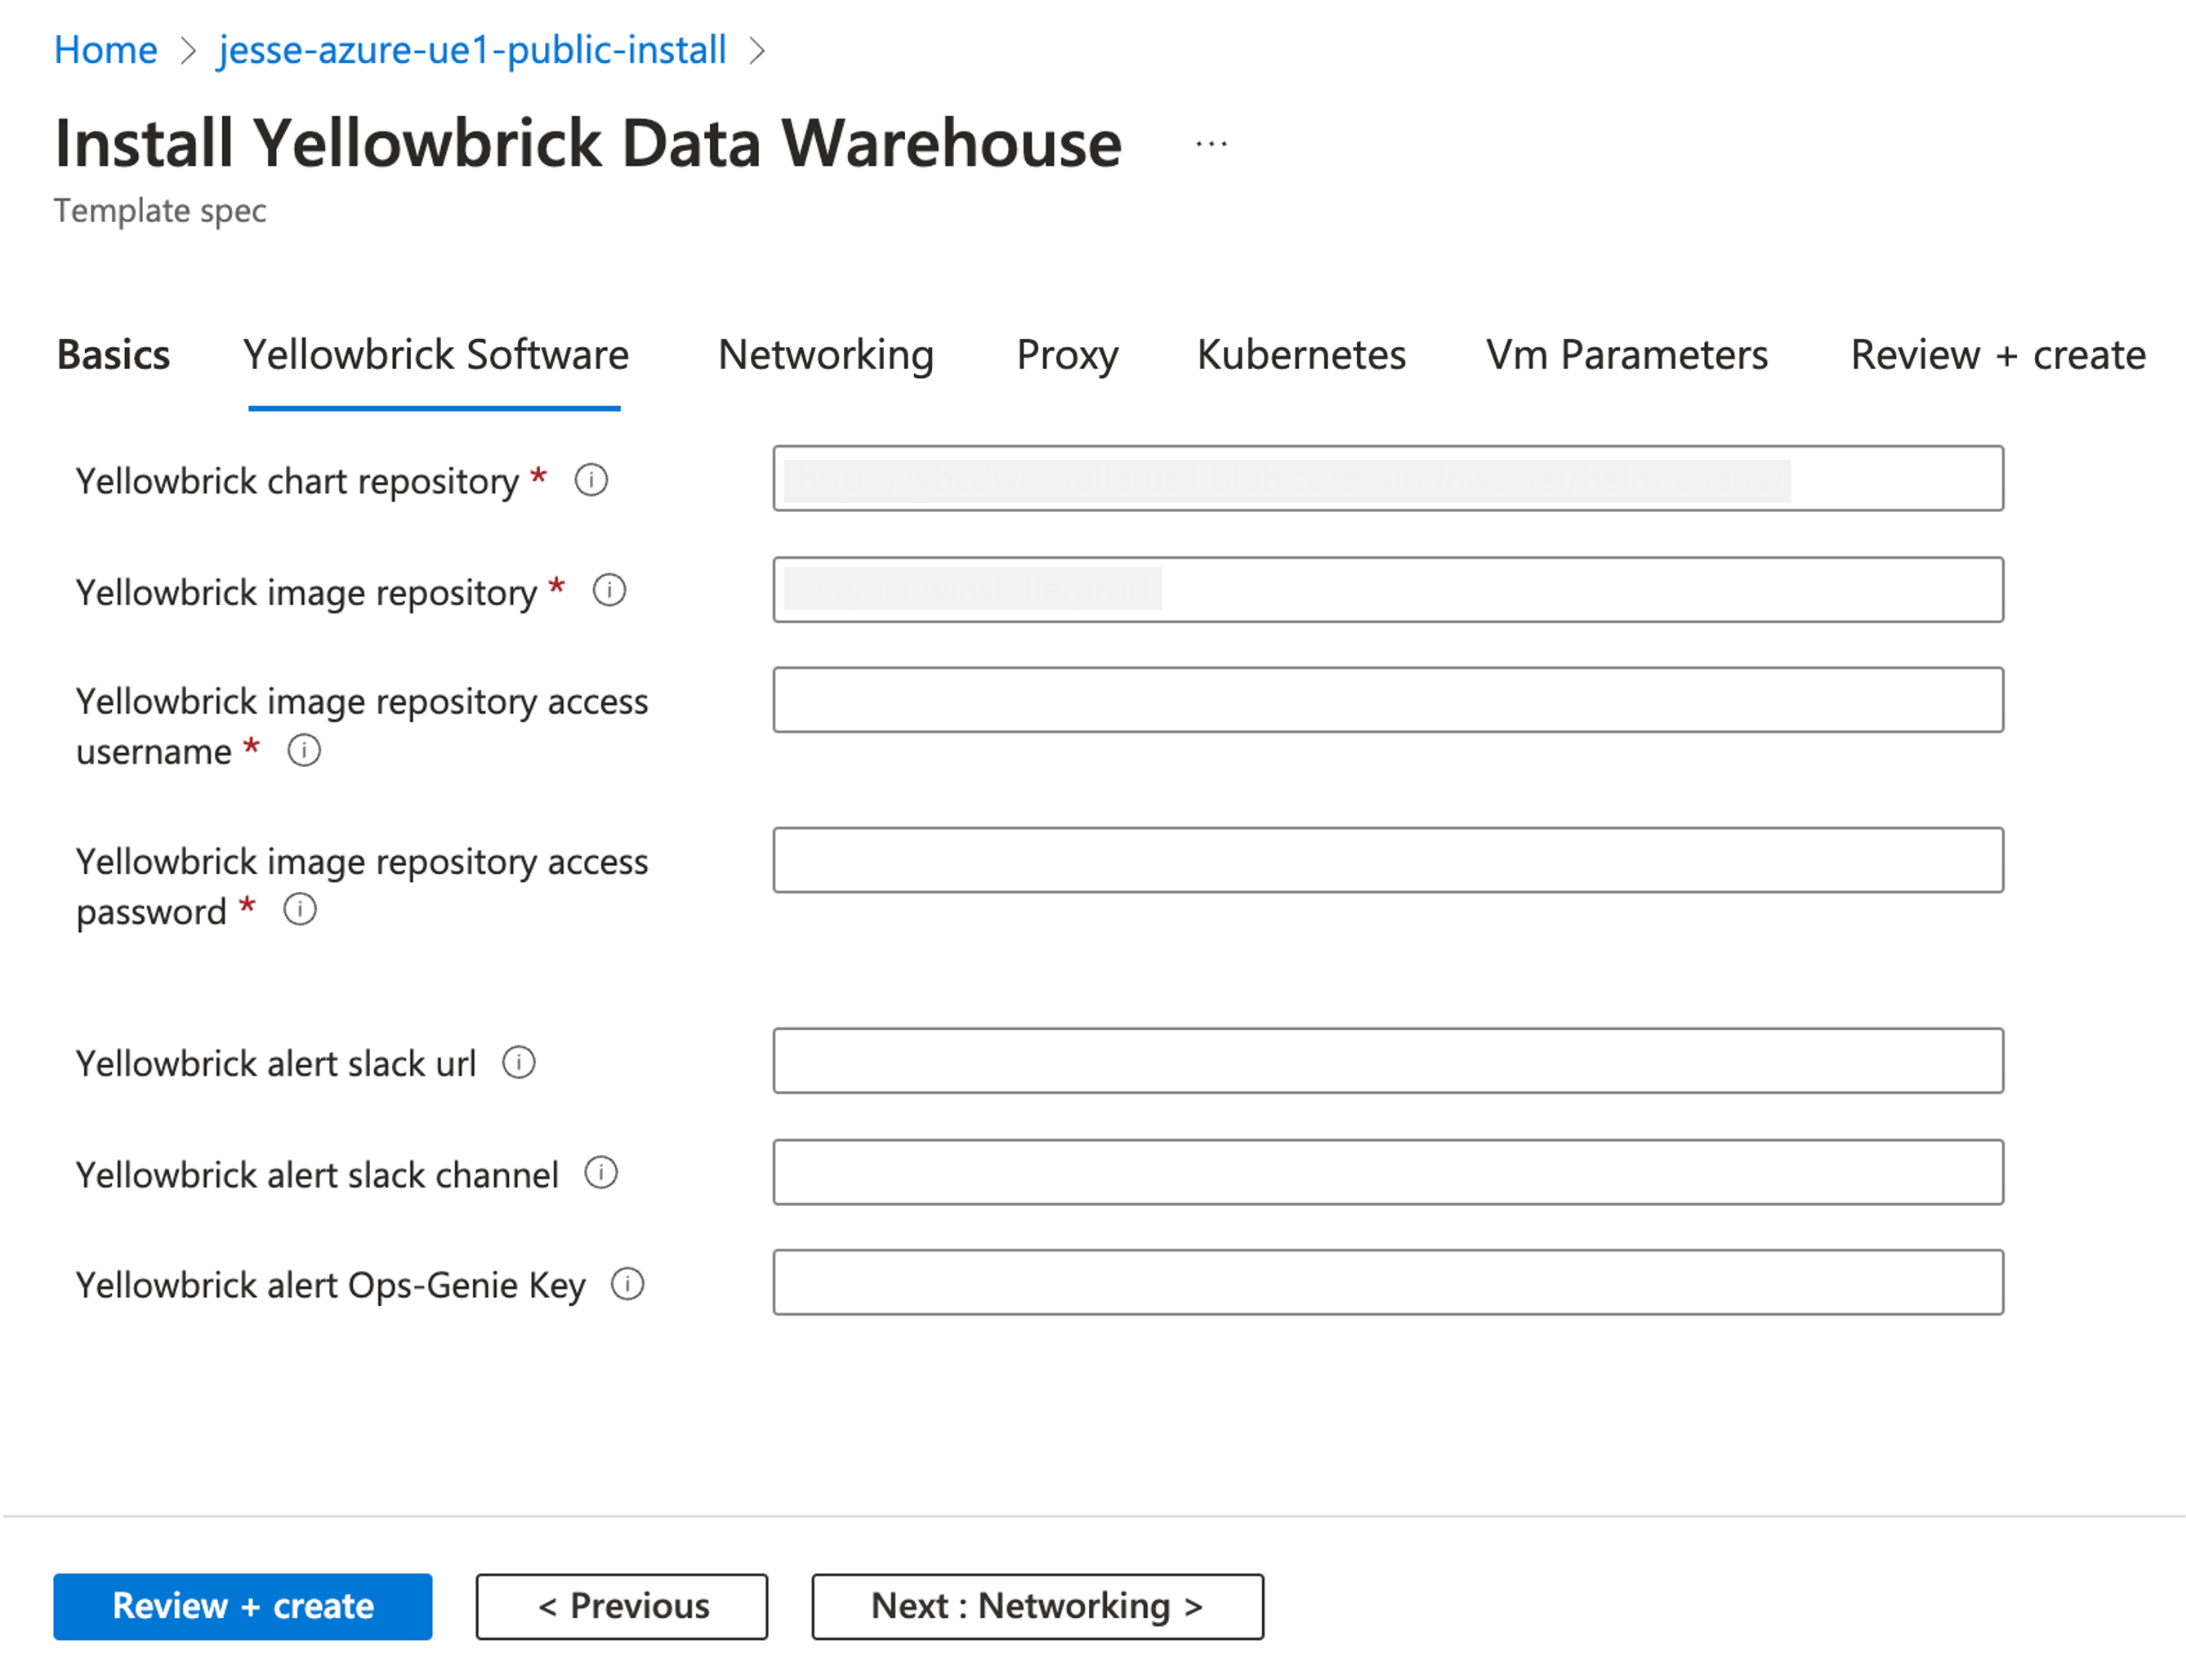
Select Next: Networking to proceed to the next panel.
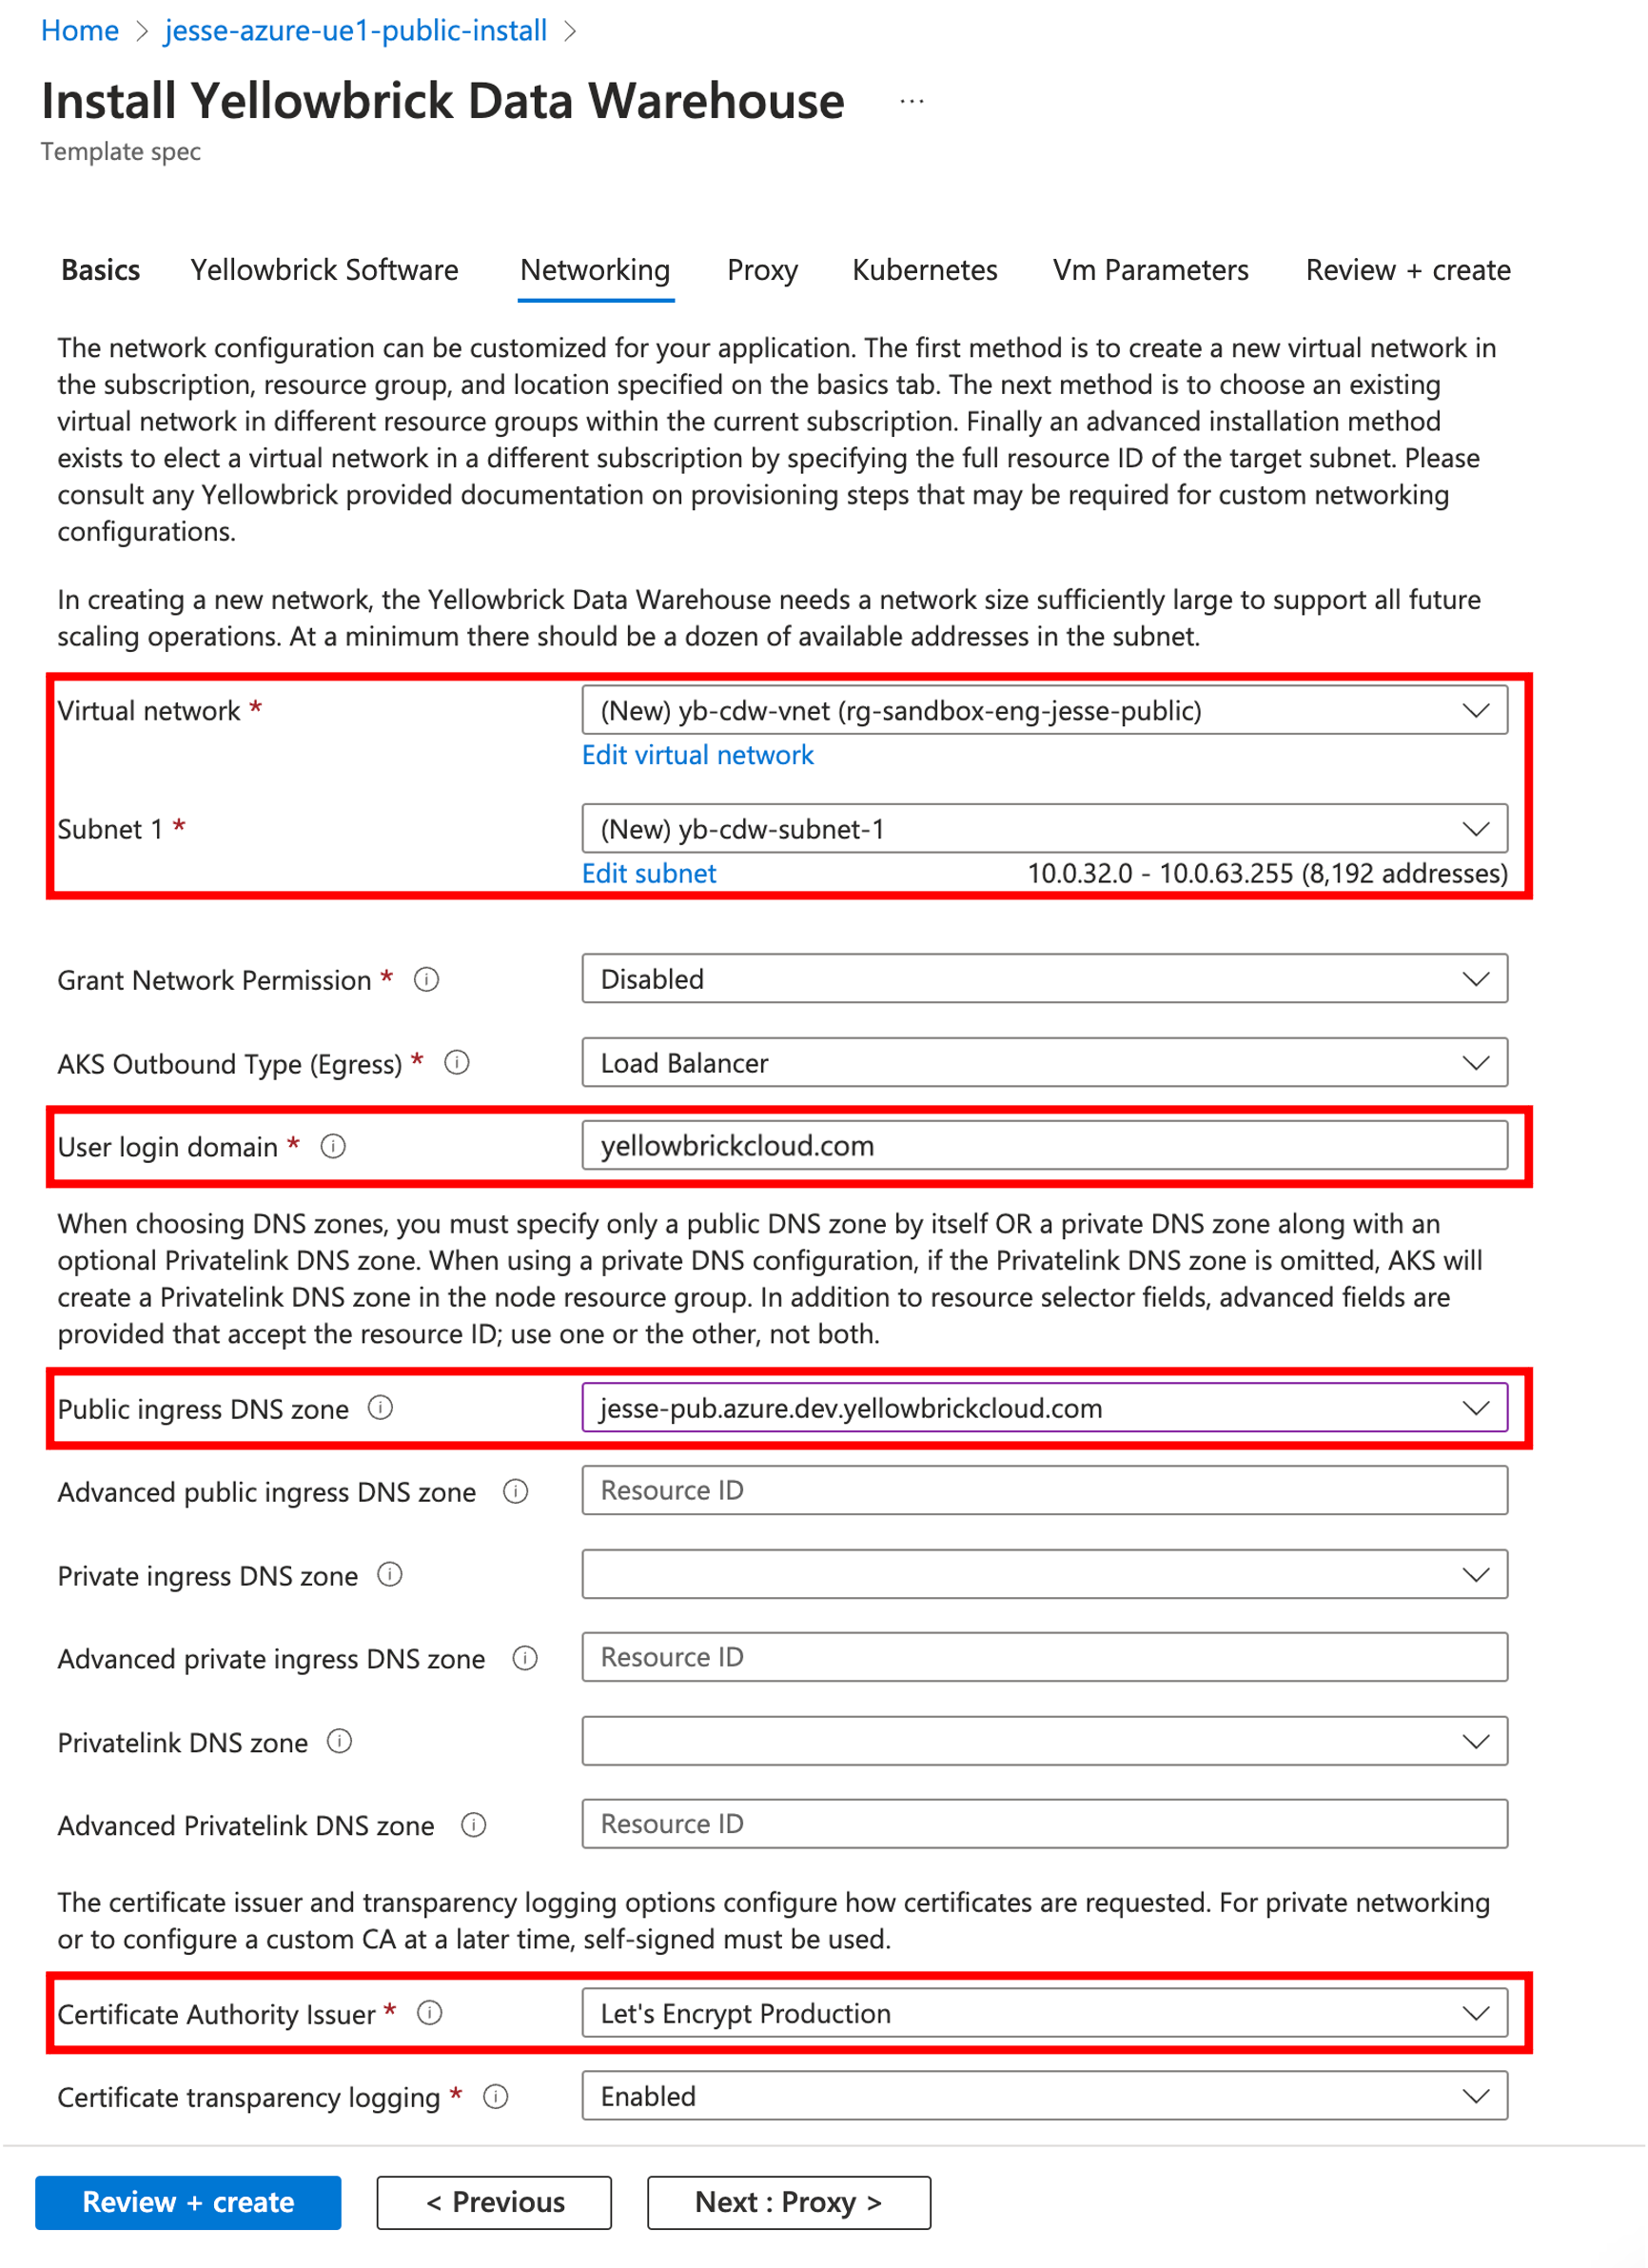
Selecting Networking Settings
Attention: It is recommended not to change any default virtual network values unless required to do so.
The following fields on the Networking panel need to be amended:
- Virtual network and Subnet 1: Set the virtual network and subnet created in Create a Domain Name System Zone.
- User login domain: Enter the previously created root domain.
- Public ingress DNS zone OR Private ingress DNS zone: Select the relevant DNS zone from the provided list.
- Certificate Authority Issuer:
- If using a public network, select
Let's Encrypt Production. - If using a private network, select
Self-signed - Certificate transparency logging: Leave as
Enabledby default.
Select Next: Proxy to proceed to the next panel.
Proxy Options
The Proxy panel offers options to secure AKS-required network traffic in proxy-dependent environments for environments requiring internet access to be routed through HTTP proxies. The following proxy fields are optional:
- HTTP proxy: a proxy URL to use for creating HTTP connections outside the cluster. The URL scheme must be
http. - HTTPS proxy: a proxy URL to use for creating HTTPS connections outside the cluster. If this isn't specified, then the HTTP proxy is used for both HTTP and HTTPS connections.
- Excluded: a list of destination domain names, domains, IP addresses, or other network CIDRs to exclude proxying.
- Trusted CA: a string containing the base64-encoded alternative CA certificate content. Currently only the PEM format is supported.
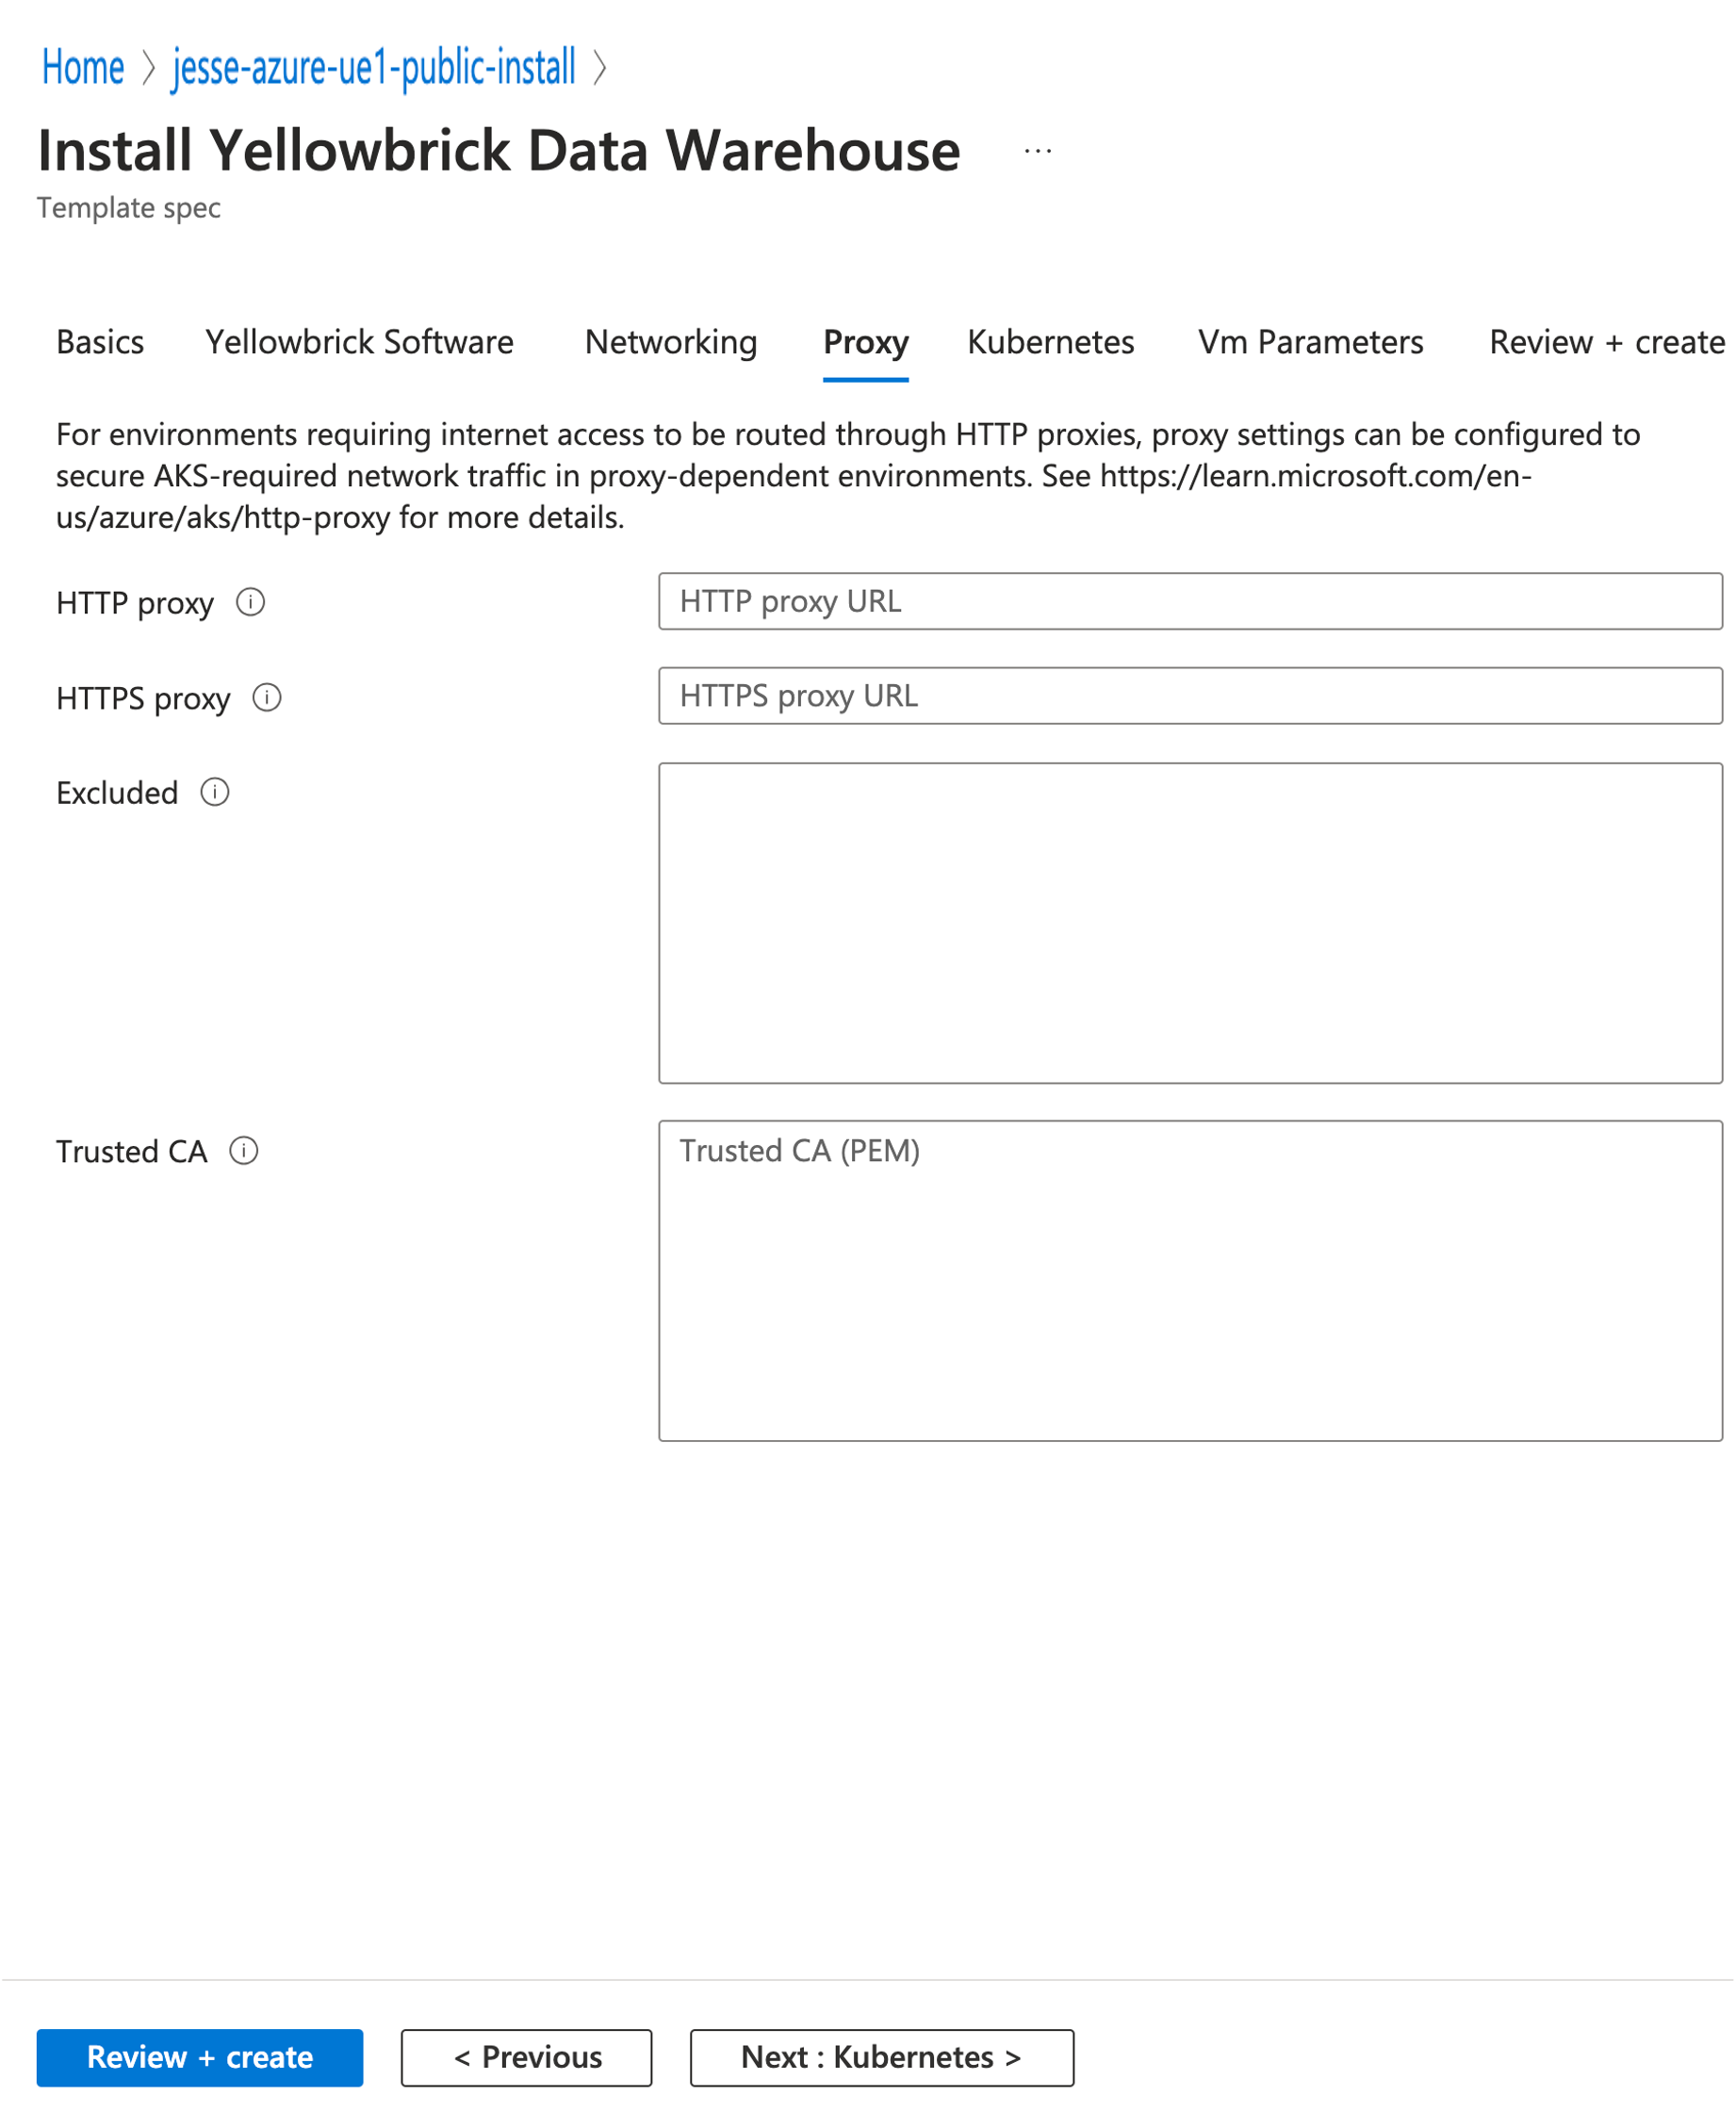
For more information, see Configuring Azure Kubernetes Service (AKS) nodes with an HTTP proxy.
Select Next: Kubernetes to proceed to the next panel.
Kubernetes Configuration
The Kubernetes panel offers the option for customizing the Kubernetes configuration. The last five fields are auto-filled, and it is recommended not to change the entries unless required to do so.
Note: If you choose to change the Kubernetes Pod CIDR entry, it cannot be the same as the entry provided for Subnet 1 in the previous section.
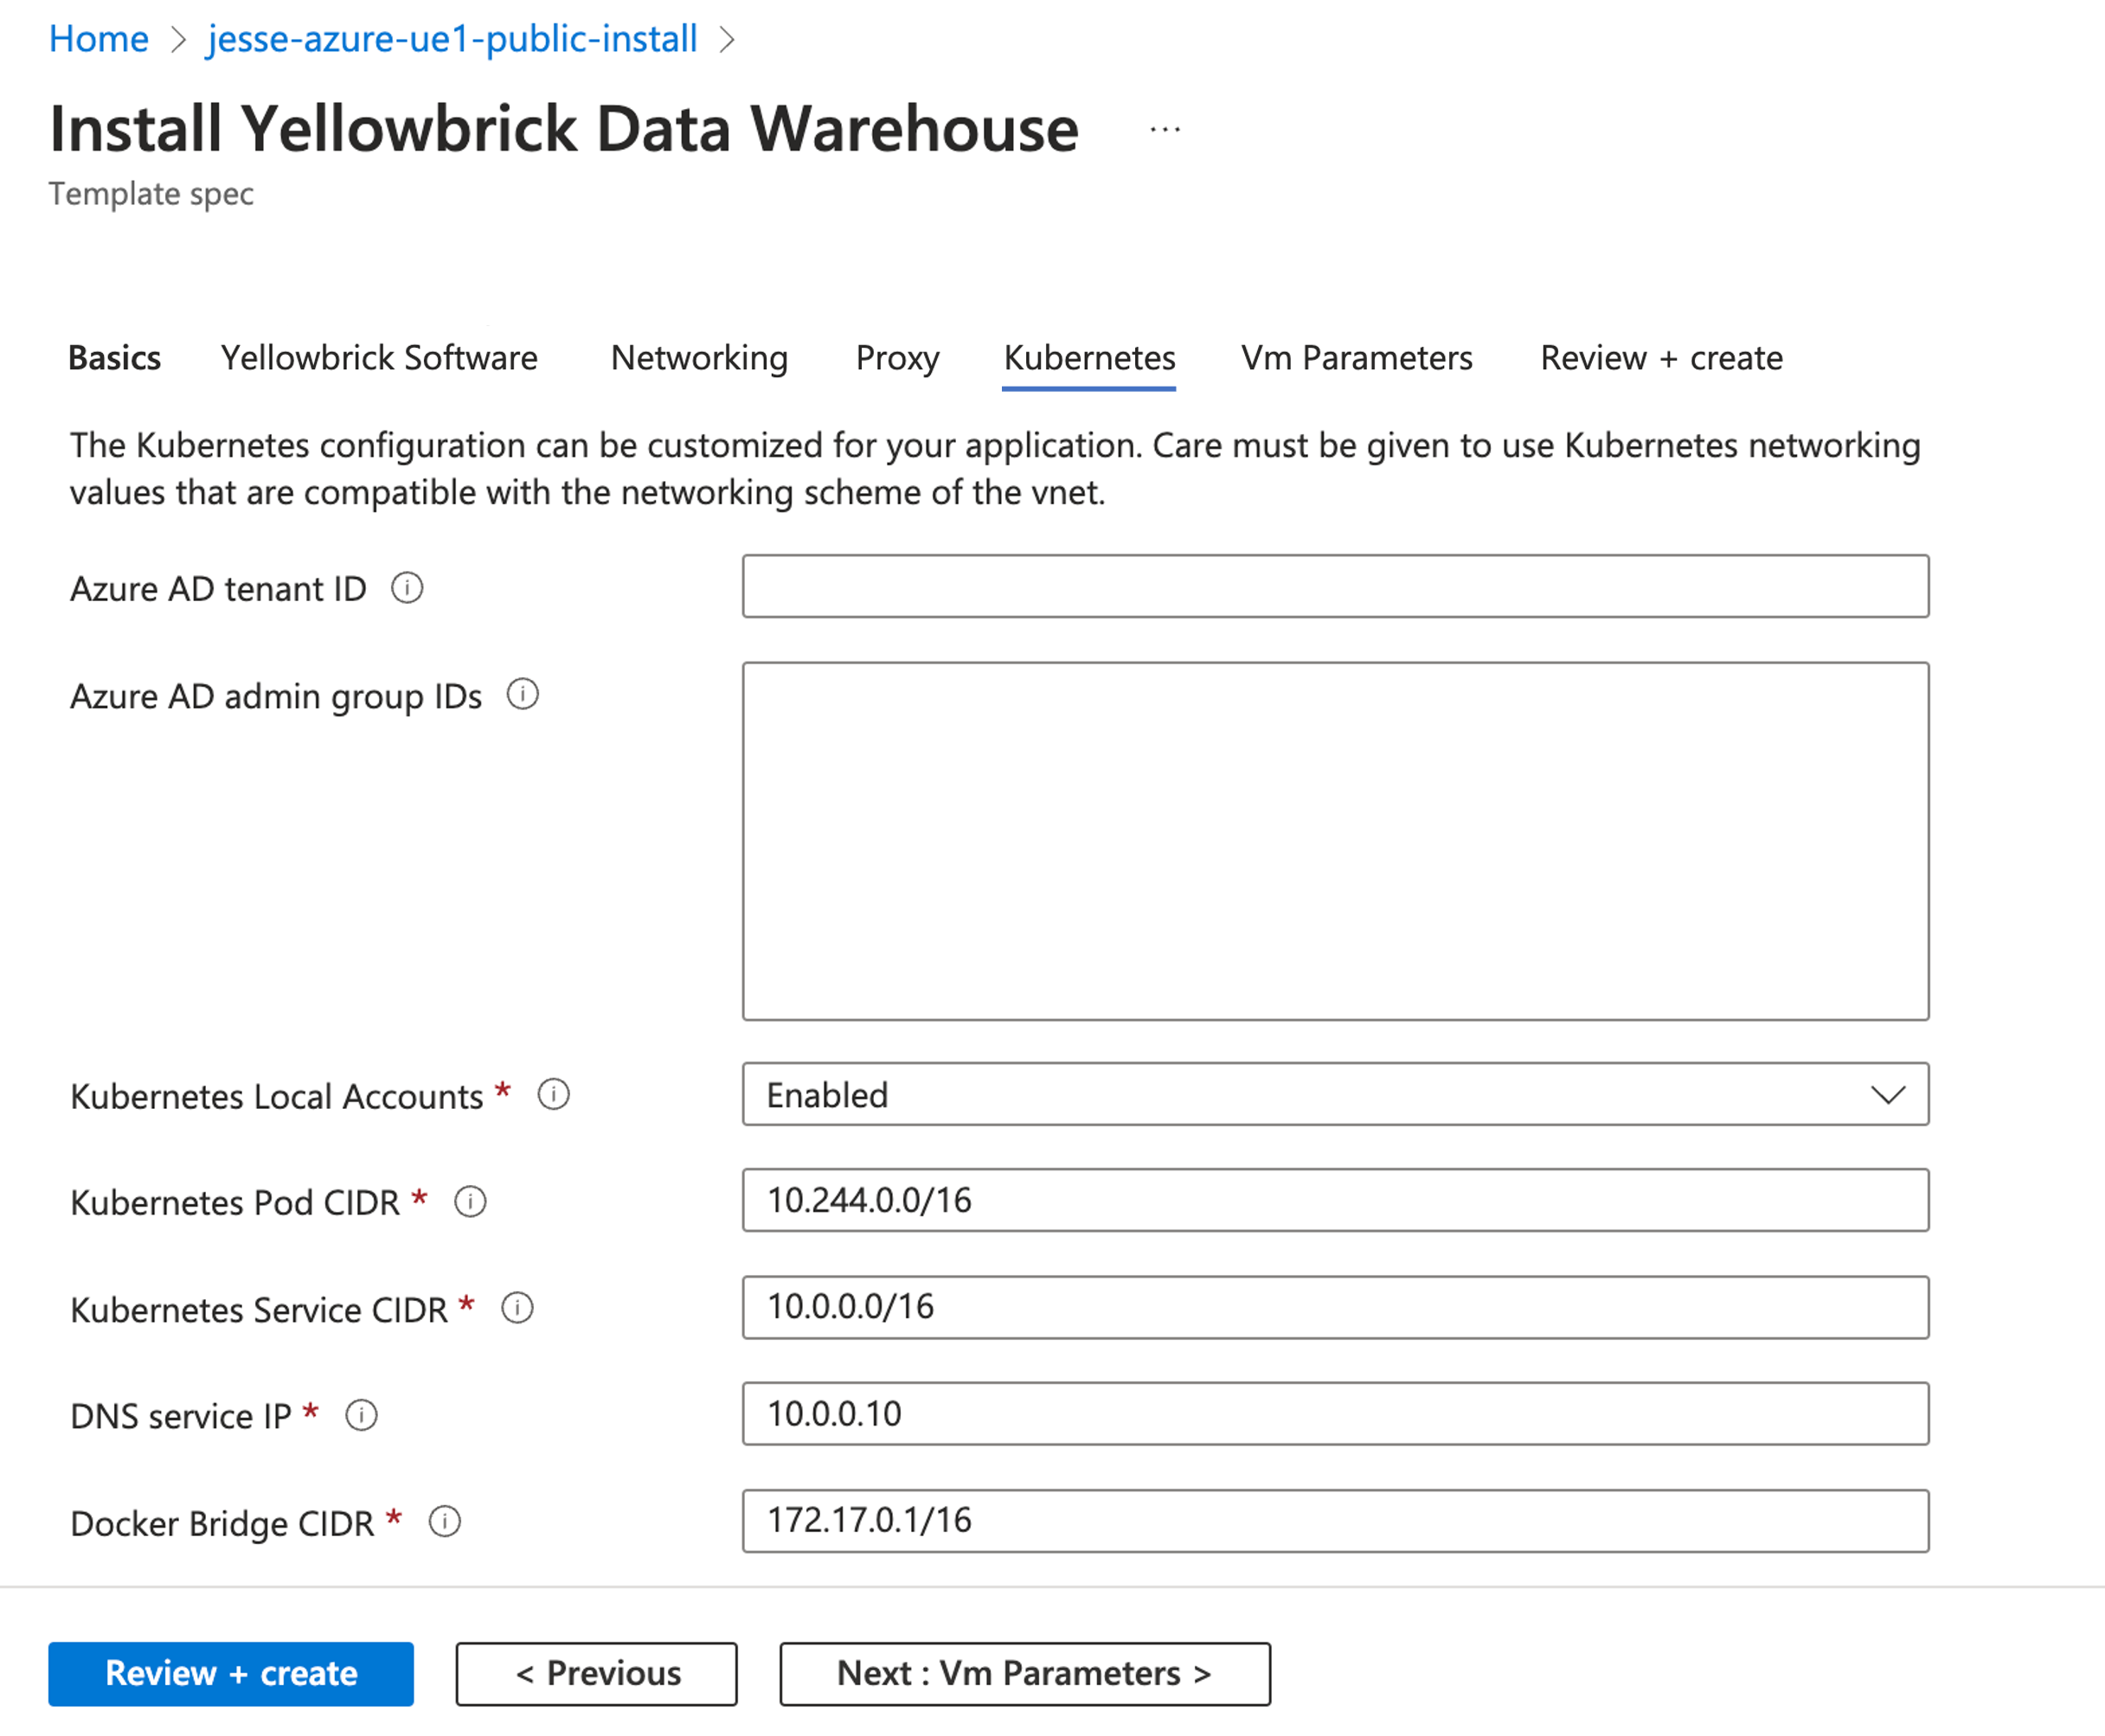
Select Next: Vm Parameters to proceed to the next panel.
VM Parameters Panel
In the Vm Parameters panel, complete the following fields:
- Allowed CIDRs: Enter authorized CIDRs or enter
0.0.0.0/0to allow access from all addresses. - SSH public key source and Key pair name: Use an existing SSH key or generate a new one. If you generate a new one, the creation of the deployment will provide you with the necessary contents.
Important: Save the key information somewhere safe for future use.
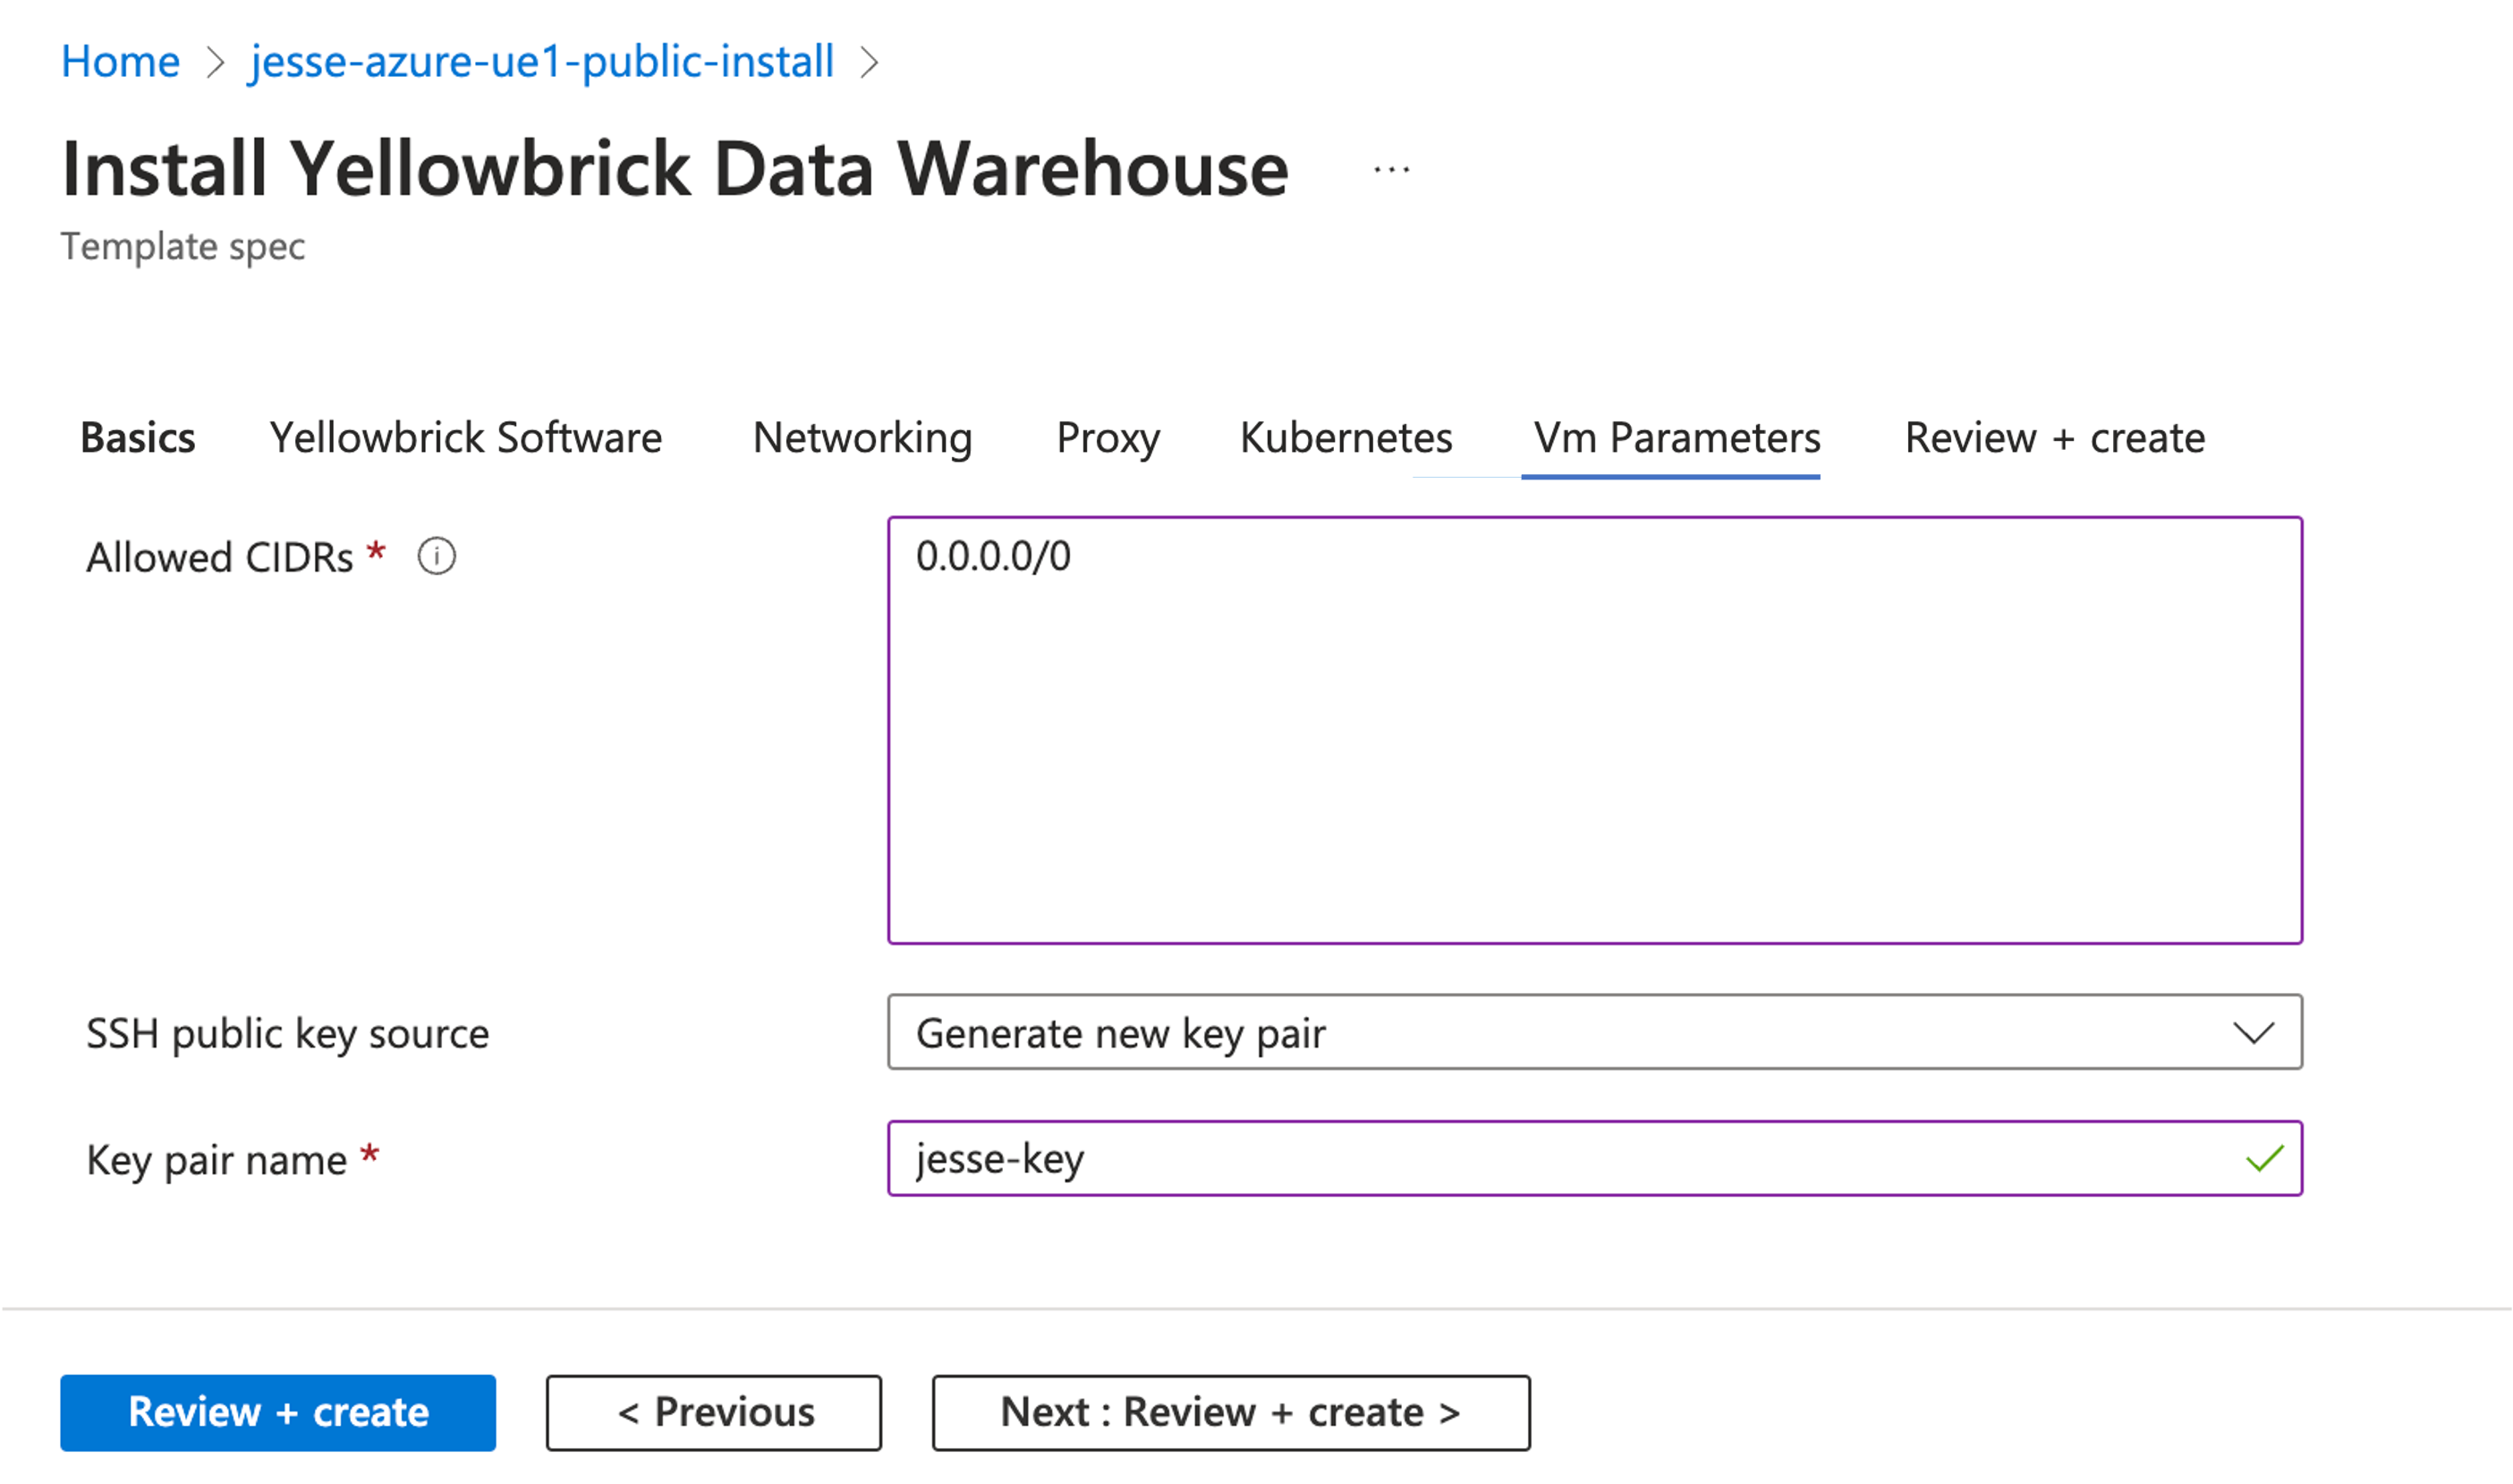
Select Next: Review + create to proceed to the next panel.
Review + Create Deployment
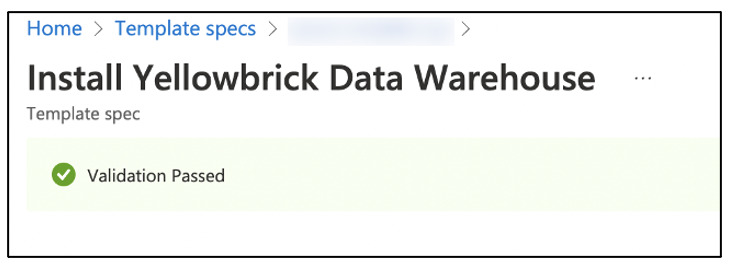
After selecting Next: Review + create, you should receive a status of Validation Passed. Use this time to carefully review the deployment summary and ensure all of the parameters are correct before selecting create.
If you receive a status of Validation failed, follow the instructions to review the previous areas that need attention and try again for a successful validation.
Final Deployment
After confirming that the validation has passed, click on create begin the deployment.
The installer will take about 40 minutes to complete. You can monitor the process in the deployments panel of your resource group.
Once completed, you will receive a status of Your deployment is complete.
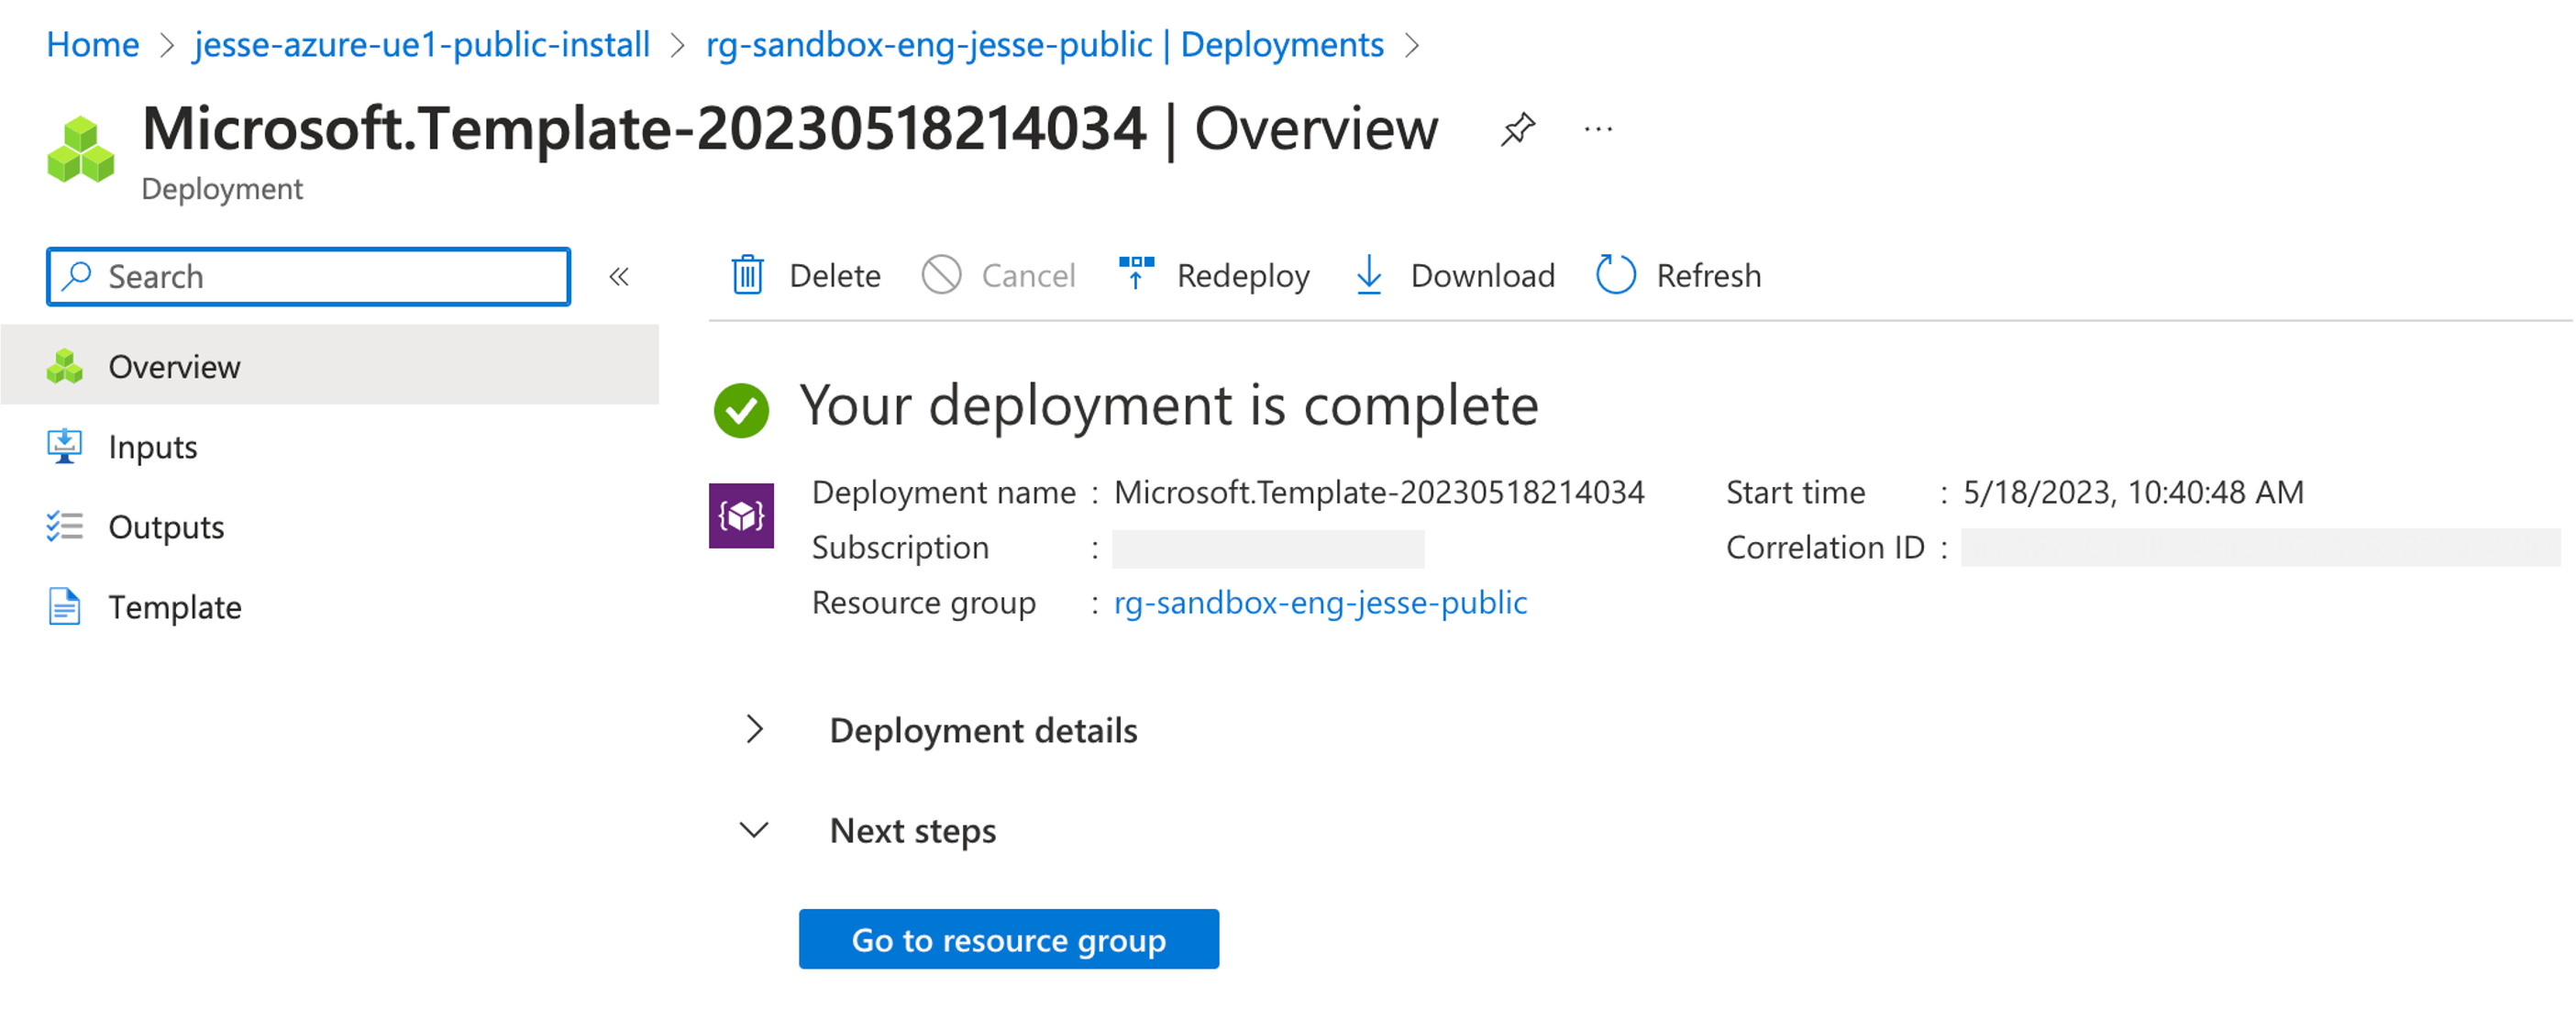
Select Outputs from the side menu to find installation details, including the URL, username, and temporary password for accessing the CDWM.
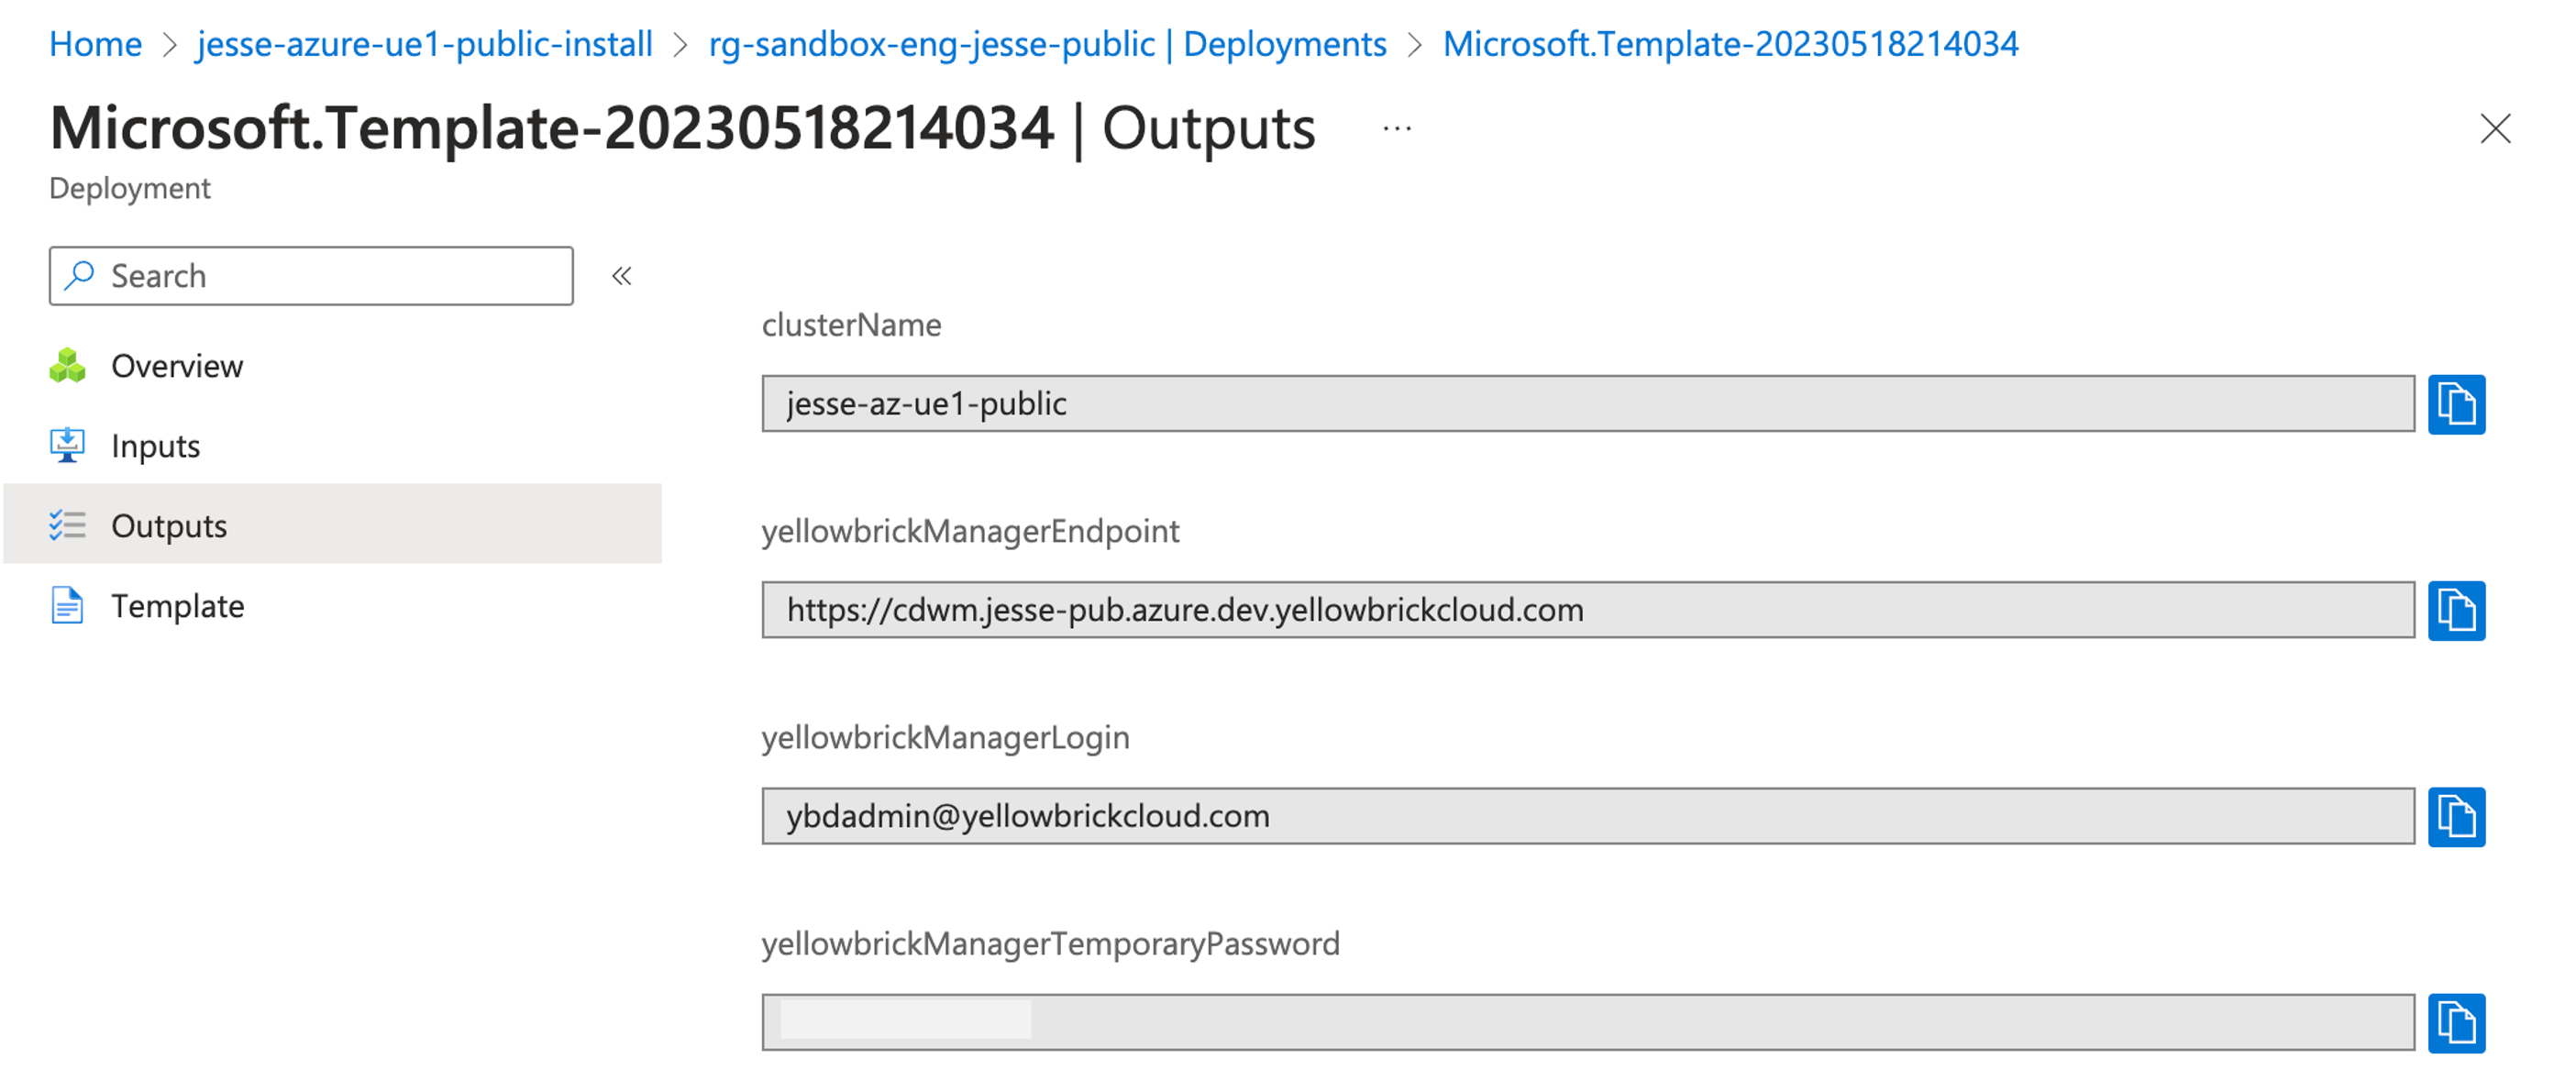
Important: Save the information on this page before navigating away from it. You will be asked to change the password when you first login. See Initial Login and Password Reset.
Parent topic:Azure Deployment Guide for Yellowbrick