Appearance
Create a Resource Group
In Azure, it is necessary to create a resource group before you can create a new deployment. It is recommended that you use a dedicated resource group for each installation to start with a clean slate.
Create a Resource group
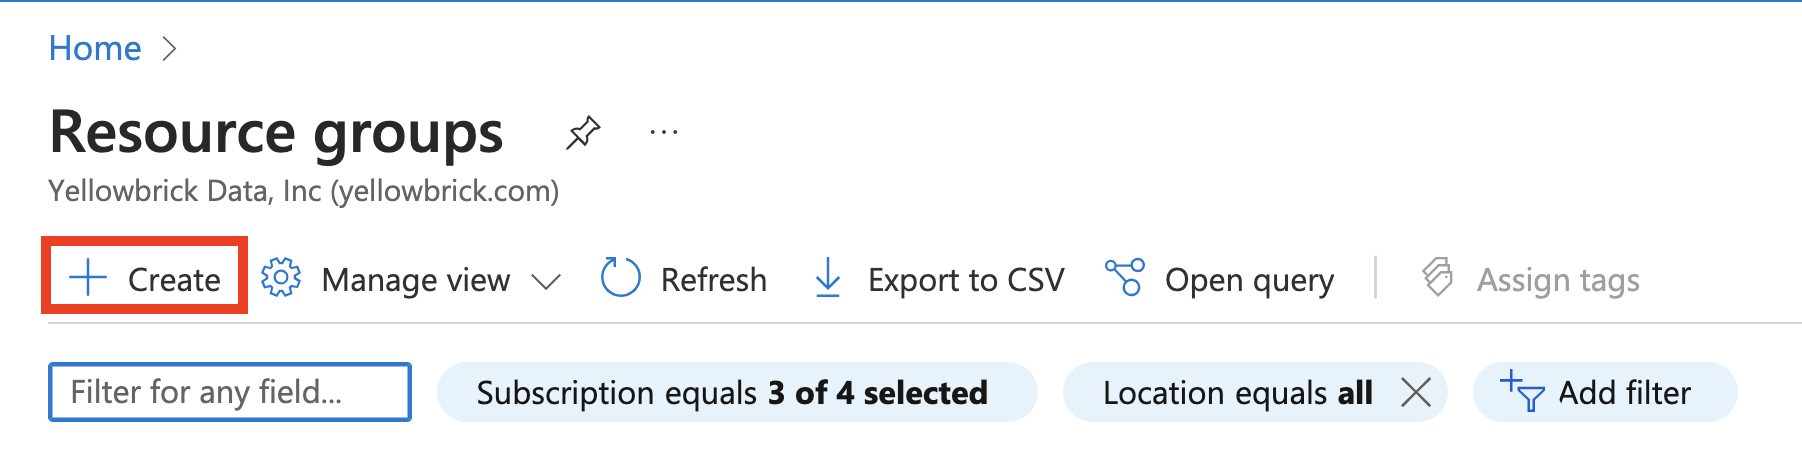
Log into your Azure account and select Resource groups.

From the top menu, select + Create.
Specifying Project and Resource Details
The Basics panel has three sections:
- Subscription: select the relevant subscription to manage deployed resources and costs.
- Resource group: create a name for your resource group.
Important: Azure naming conventions only allow the use of characters and numbers and will not accept underscores (_) or dashes (-).
- Region: should default to the region associated with the subscription.
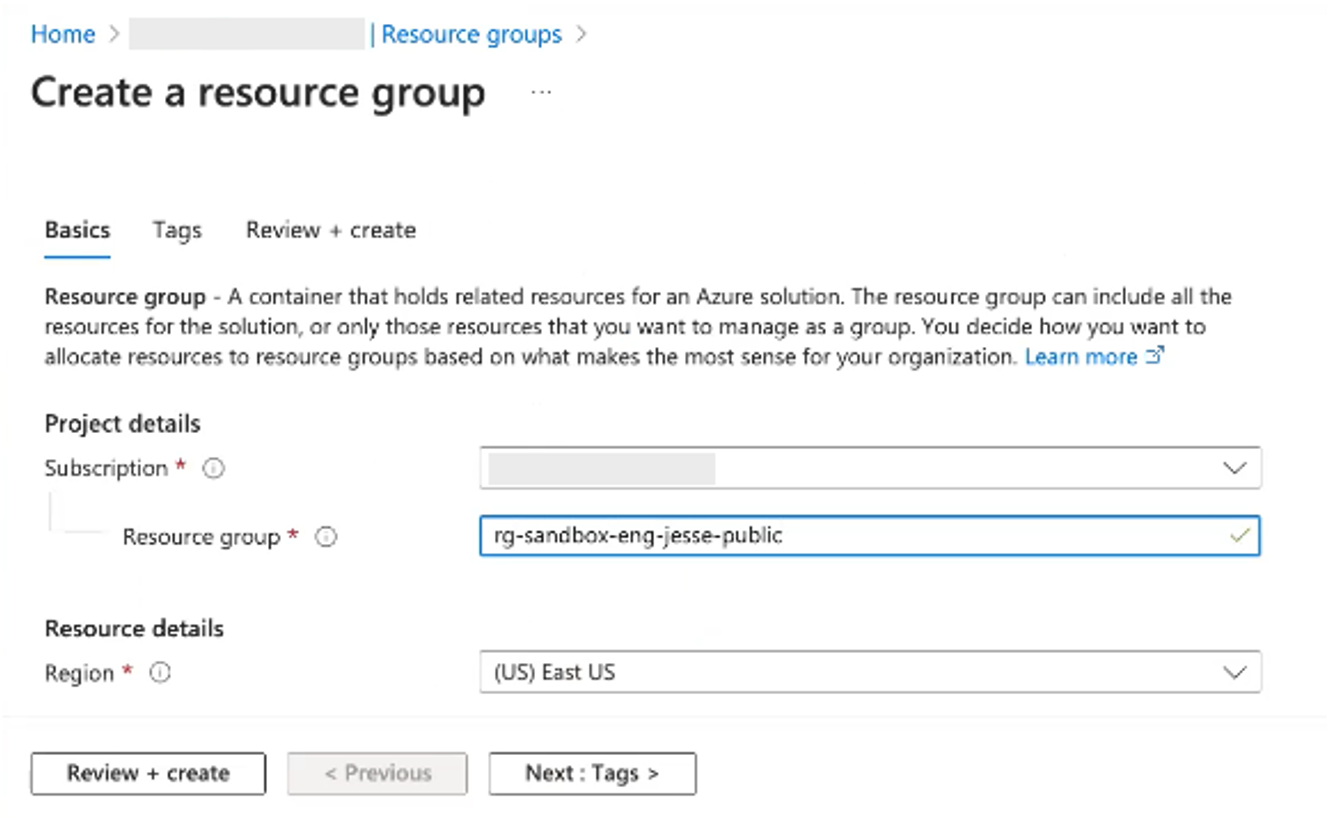
Tags are optional.
Select Review + create to proceed to the next panel.
Validate Resource Group
After selecting Review + create, you should receive a status of Validation Passed. Use this time to carefully review the resource group summary and ensure all of the parameters are correct before selecting Create.
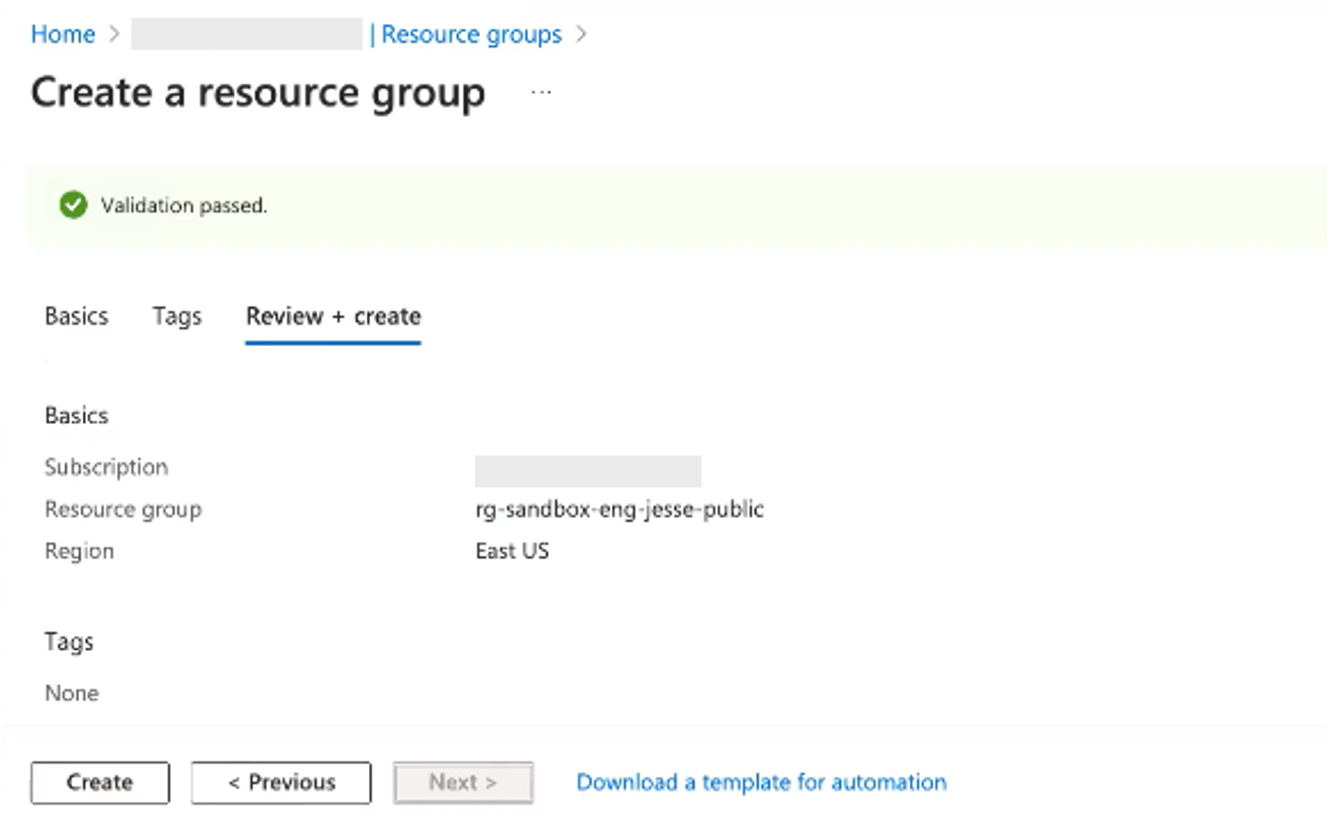
Select Create to proceed.
Create Resource Group
Creating the resource group should only take a few minutes to complete. You can monitor the process in the Notifications window of your Azure Portal.
Once completed, you will receive a status of Resource group created.

Parent topic:Preparing for a New Installation