Appearance
Create a Domain Name System Zone
You must create a hosted zone for your Yellowbrick deployment using the Domain Name System (DNS) hosted zone service. A DNS zone assigns a custom domain name in your VNet, and provides access to that domain, as a subnet within the domain managed by your identify service provider (IDP).
Private and Public DNS Zones
The type of DNS zone, public or private, specifies whether traffic is routed on the internet or within and among VNets.
Yellowbrick requires the ability to register DNS records for many of the services that are created (CDWM, observability, and so on) so they are reachable by DNS name. When a private DNS zone is defined, it is important to configure DNS forwarding to the appropriate corporate DNS servers so that these services can be resolved by the end user’s network. This also has implications for certificates that are used to encrypt all network communication between components of the Yellowbrick Data Warehouse and terminate with the back end nodes themselves.
When you create a private DNS zone, you will need to identify the region and an existing VPC that the DNS zone is associated with (that is, the VNet that you are going to use for the Yellowbrick installation).
To Create the Public DNS Zone
Use the Azure Portal to create the DNS zone, after logging in with the same account that you intend to use for the installation itself.
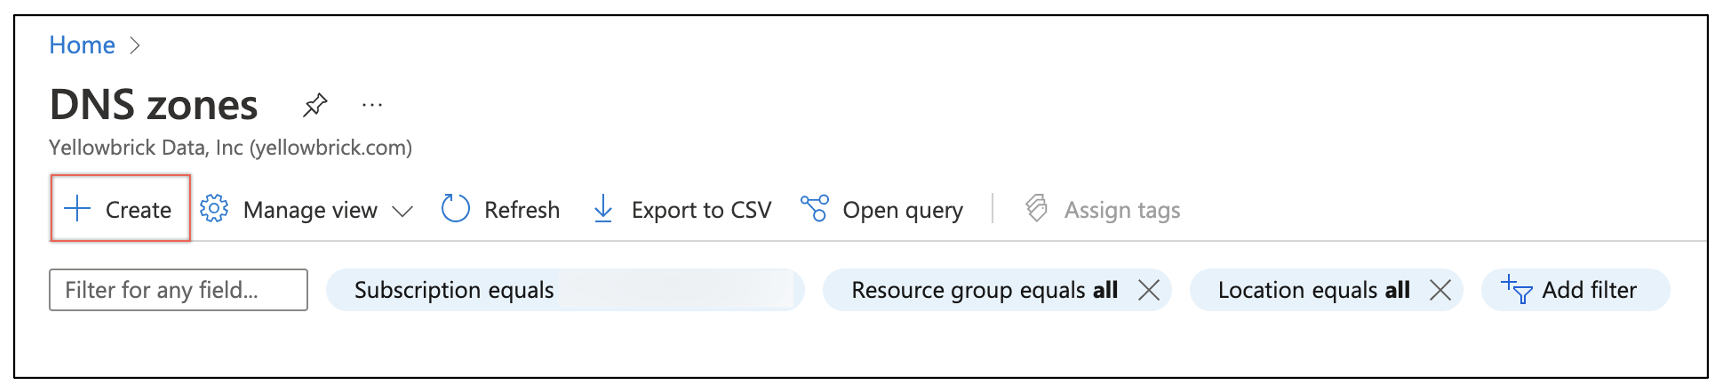
- In the portal, go to Microsoft Azure > Azure services > DNS zones and select + Create:

- Create a sub-domain for your Yellowbrick installation by completing the following three mandatory fields:
Subscription
Resource group
Name
Important: Azure naming conventions only allow the use of characters and numbers and will not accept underscores (
_) or dashes (-).Note: If your domain is already hosted in Azure, check This zone is a child of an existing zone already hosted in Azure DNS to skip the next section of the DNS setup.
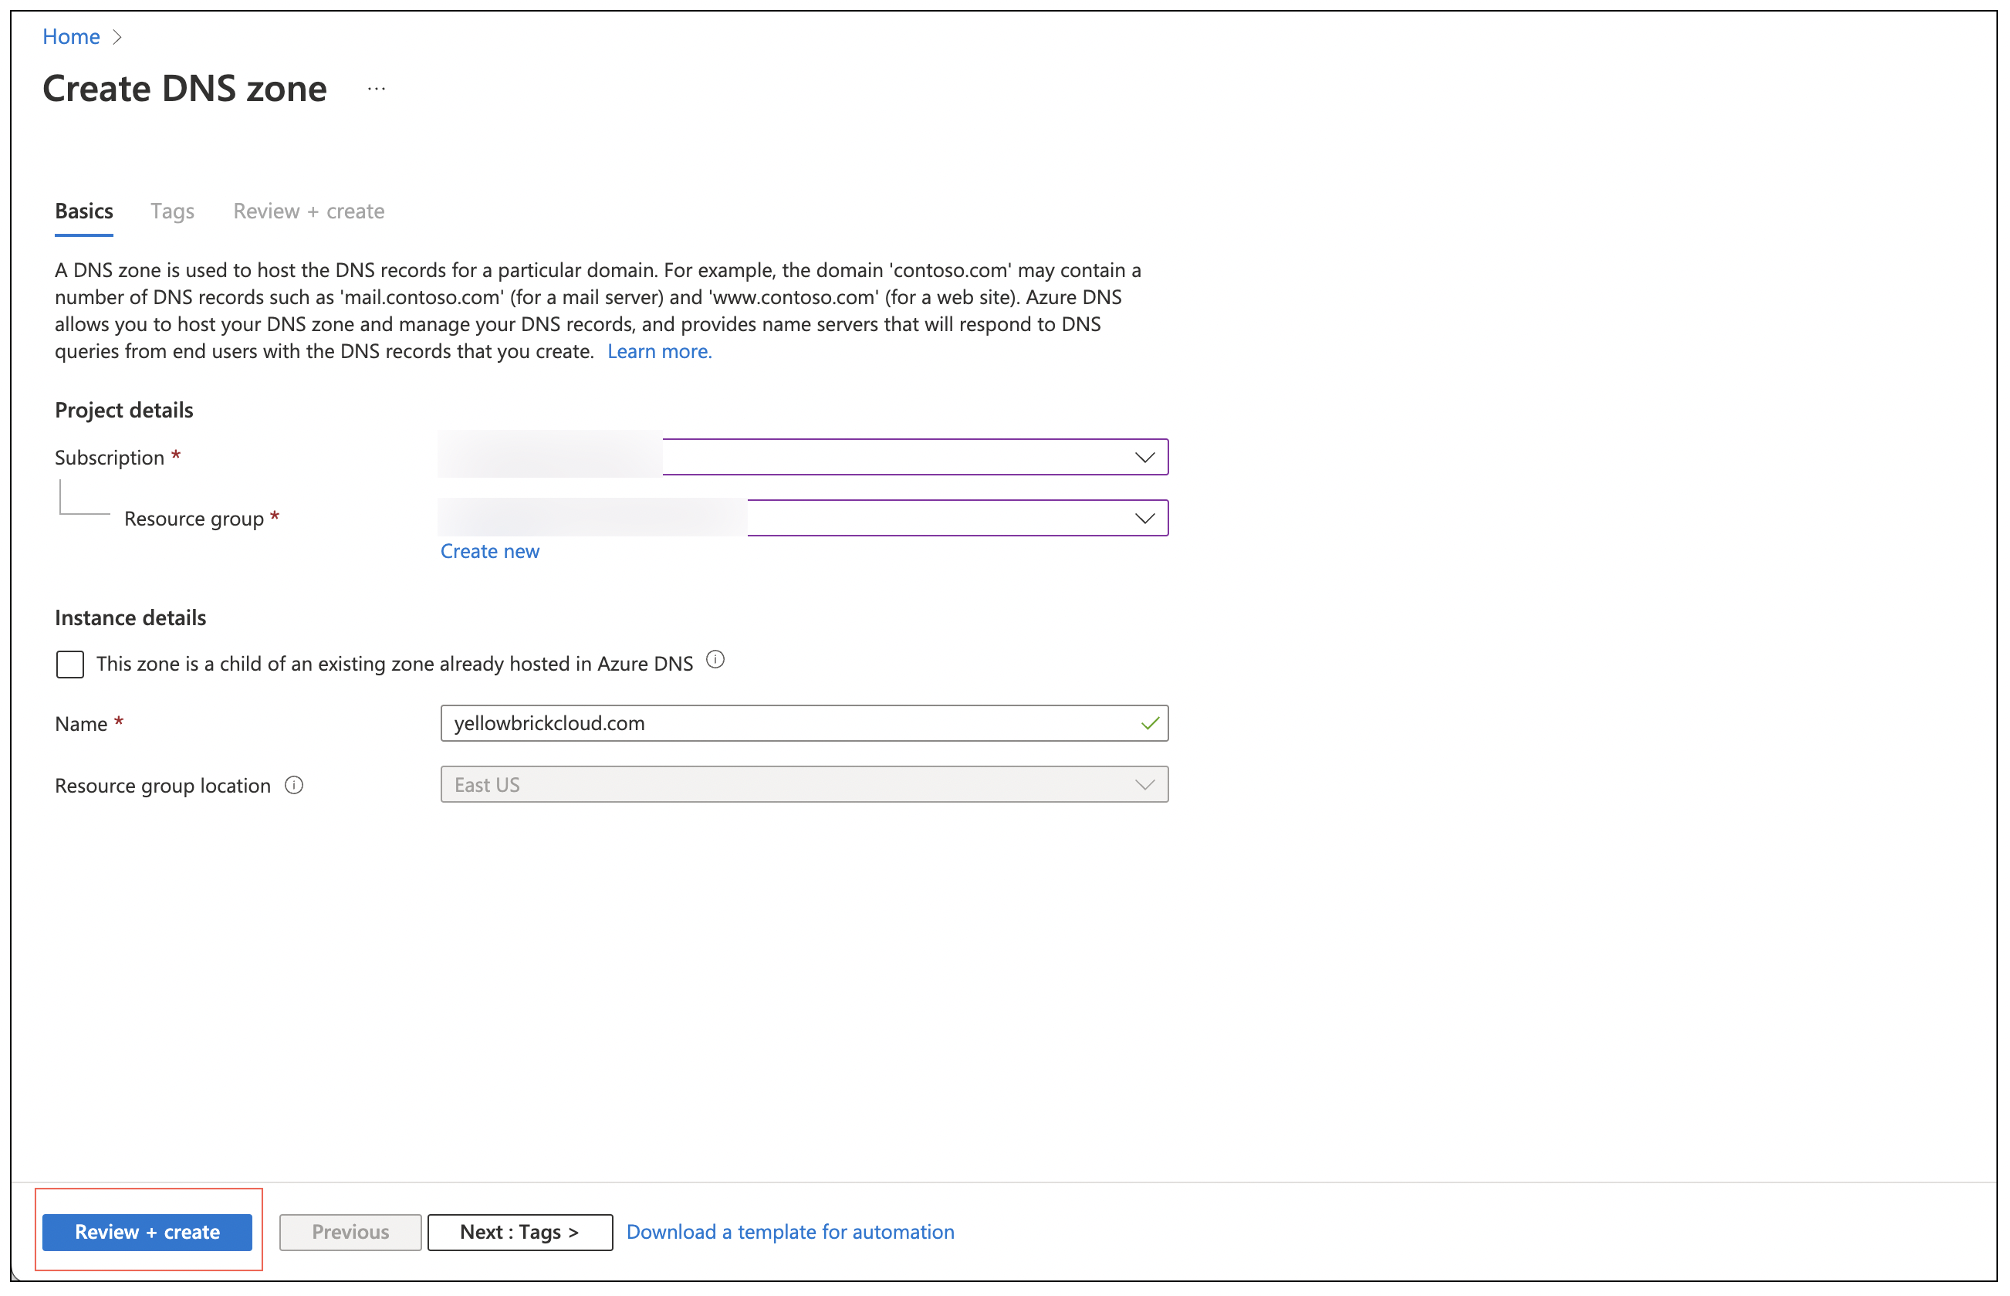
Tags are optional.
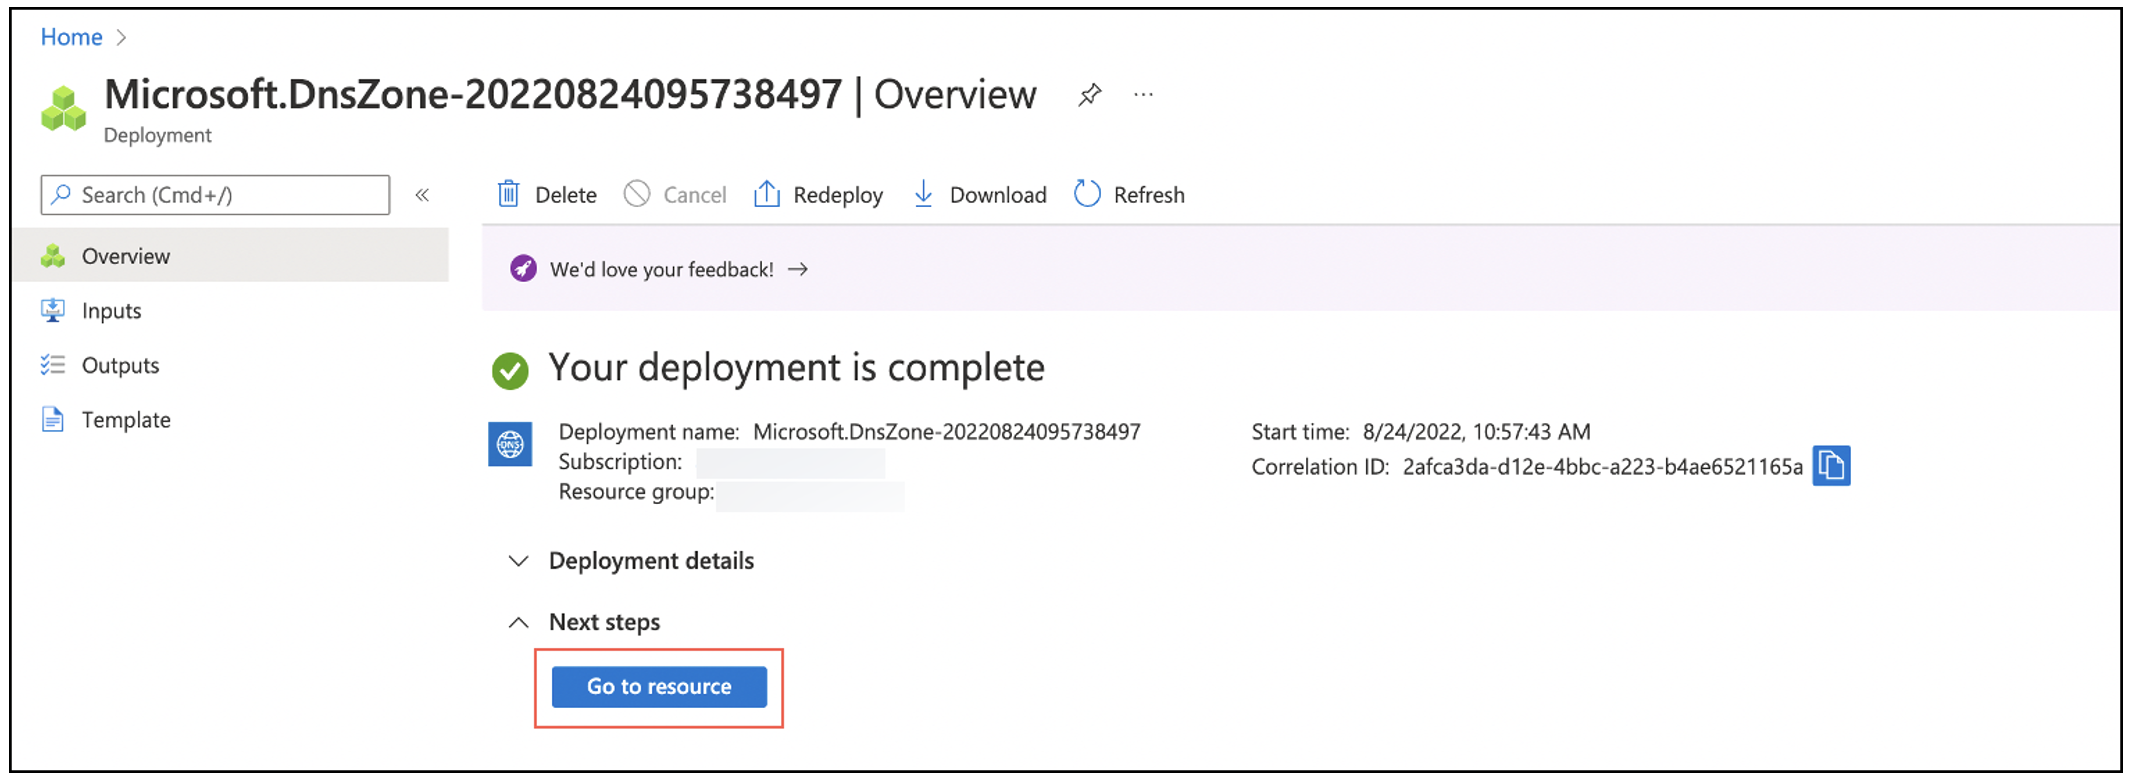
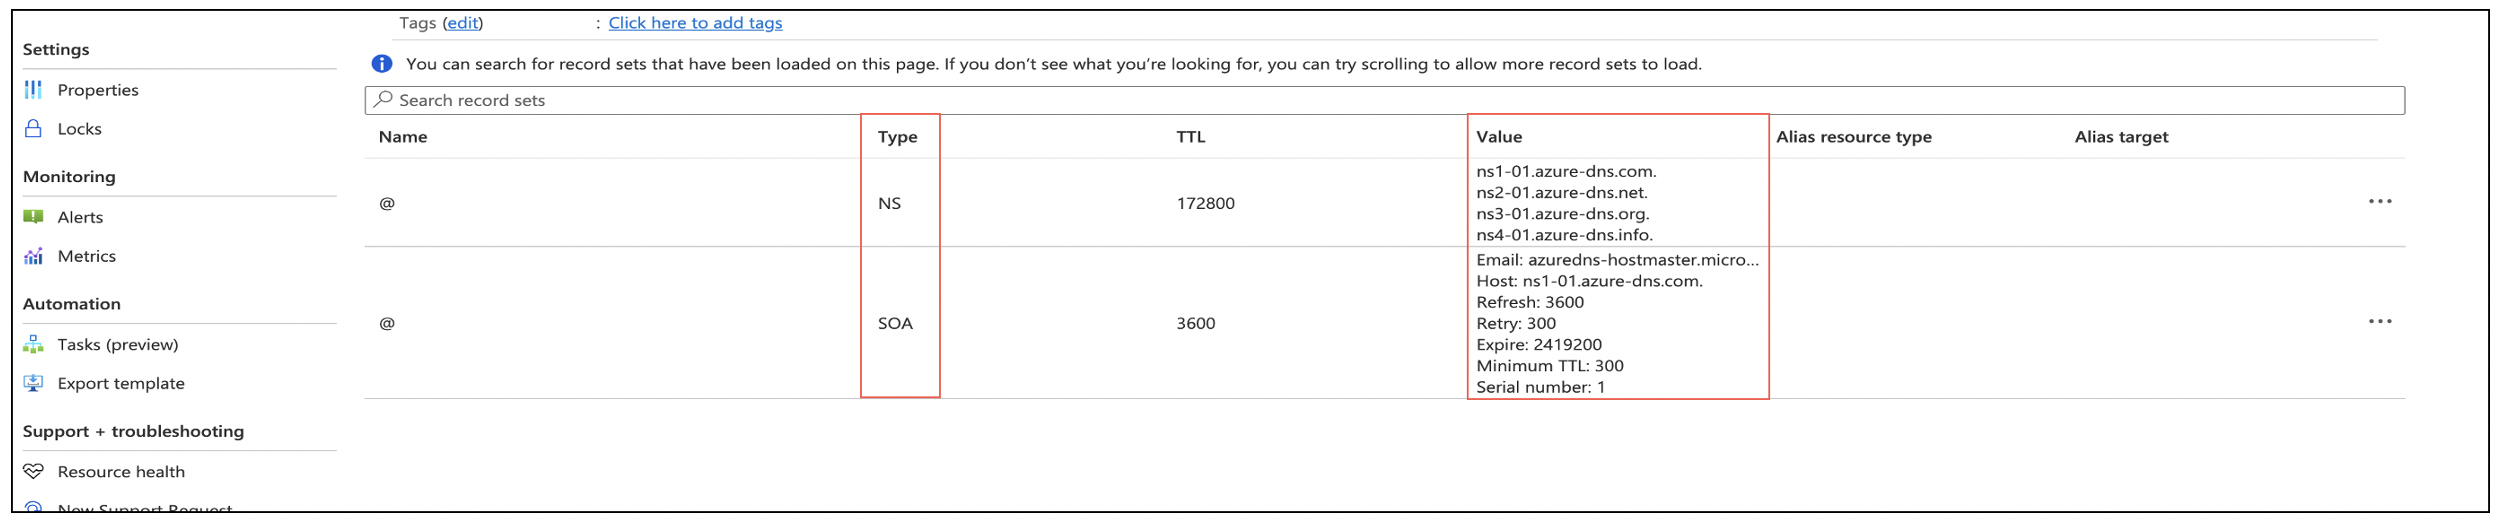
- Click Review + create. The DNS zone will be populated with NS and SOA entries for routing traffic. To view these entries, select Go to resource.
For example:
- Contact the DNS administrator in your organization and request that this sub-domain record be added to the parent record for the company. How records are updated varies according to the requirements of specific third-party providers that host the domain in question.
- When the DNS administrator has completed the previous step, run a
digcommand to verify that the DNS zone is set up correctly. The command should return thens-*entries that were generated for the DNS zone. For example:
% dig -t NS yellowbrickcloud.com
; <<>> DiG 9.10.6 <<>> -t NS .com
;; global options: +cmd
;; Got answer:
;; ->>HEADER<<- opcode: QUERY, status: NXDOMAIN, id: 22162
;; flags: qr aa rd ra; QUERY: 1, ANSWER: 0, AUTHORITY: 1, ADDITIONAL: 1

;; OPT PSEUDOSECTION:
; EDNS: version: 0, flags:; udp: 1232
;; QUESTION SECTION:
;;yellowbrickcloud.com.		IN	NS

;; ANSWER SECTION:
yellowbrickcloud.com.	172800	IN	NS	ns-1488.awsdns-58.org.
yellowbrickcloud.com.	172800	IN	NS	ns-1590.awsdns-06.co.uk.
yellowbrickcloud.com.	172800	IN	NS	ns-242.awsdns-30.com.
yellowbrickcloud.com.	172800	IN	NS	ns-923.awsdns-51.net.

;; Query time: 15 msec
;; SERVER: 2a02:6b67:3178:0:daec:5eff:fed3:daca#53(2a02:6b67:3178:0:daec:5eff:fed3:daca)
;; WHEN: Thu Aug 25 15:02:36 BST 2022
;; MSG SIZE  rcvd: 120
To Create the Private DNS Zone
Use the Azure Portal to create the DNS zone, after logging in with the same account that you intend to use for the installation itself.
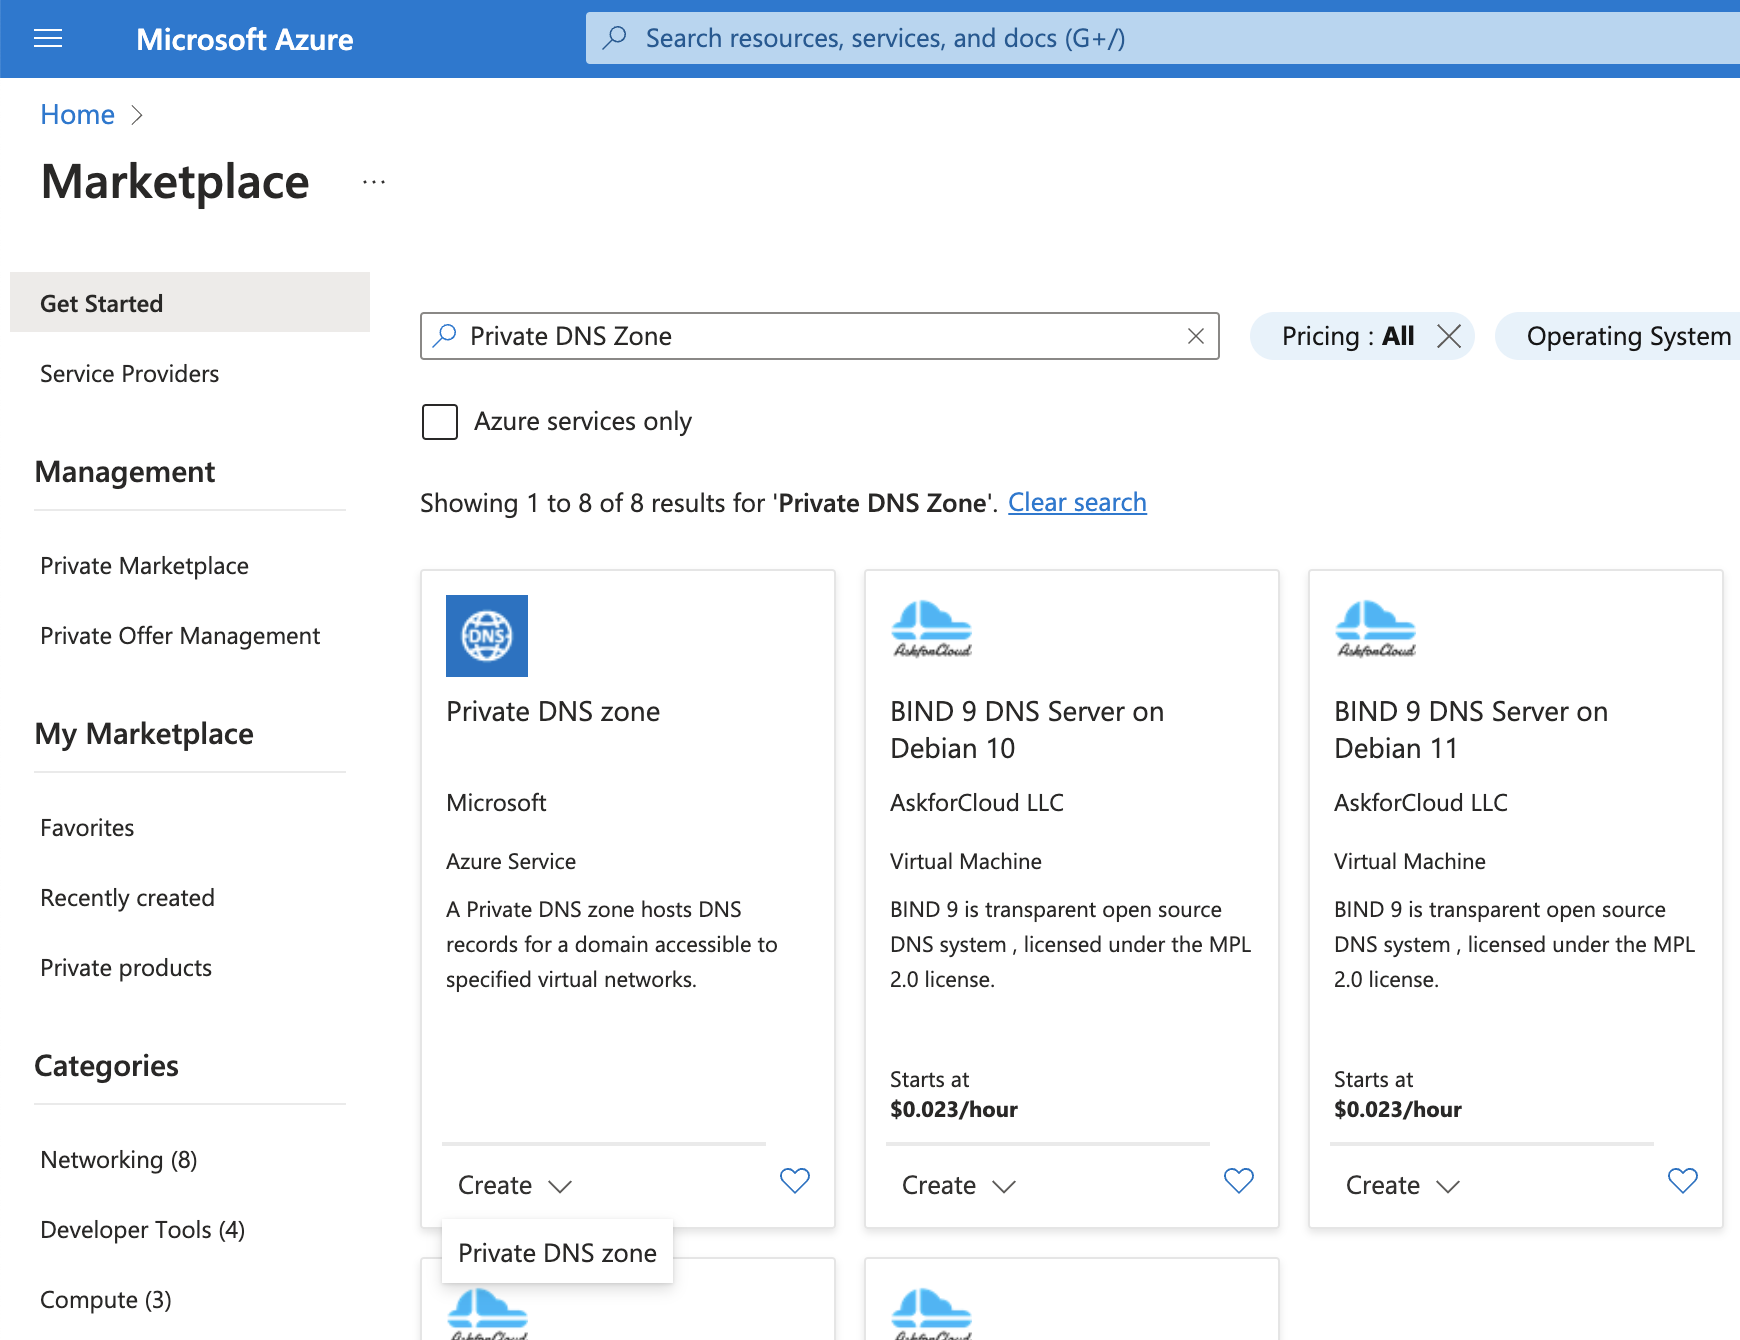
- From the resource group you want to use, select + Create and search for "Private DNS Zone" in the Azure Marketplace.
- On the Private DNS Zone that is a Microsoft Azure service, select Create > Private DNS zone
- Create a sub-domain for your Yellowbrick installation by completing the following three mandatory fields:
Subscription
Resource group
Name
Important: Azure naming conventions only allow the use of characters and numbers and will not accept underscores (
_) or dashes (-).
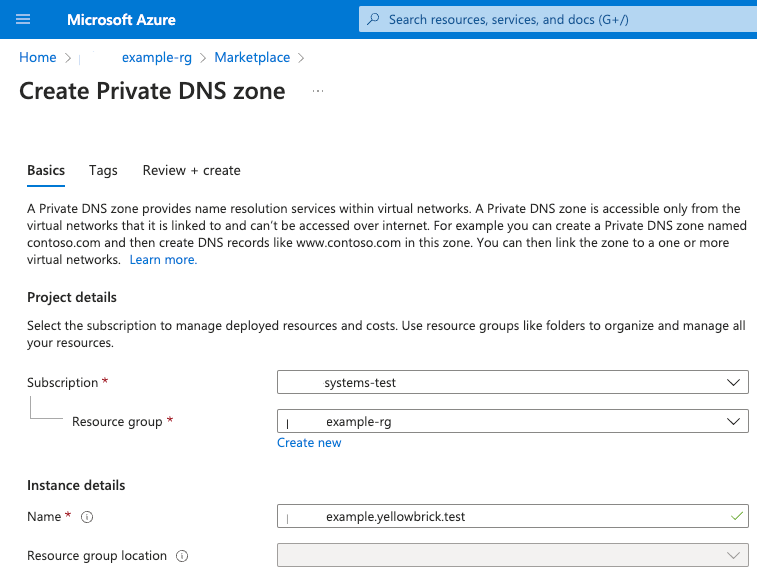
Tags are optional.
- Click Review + create.
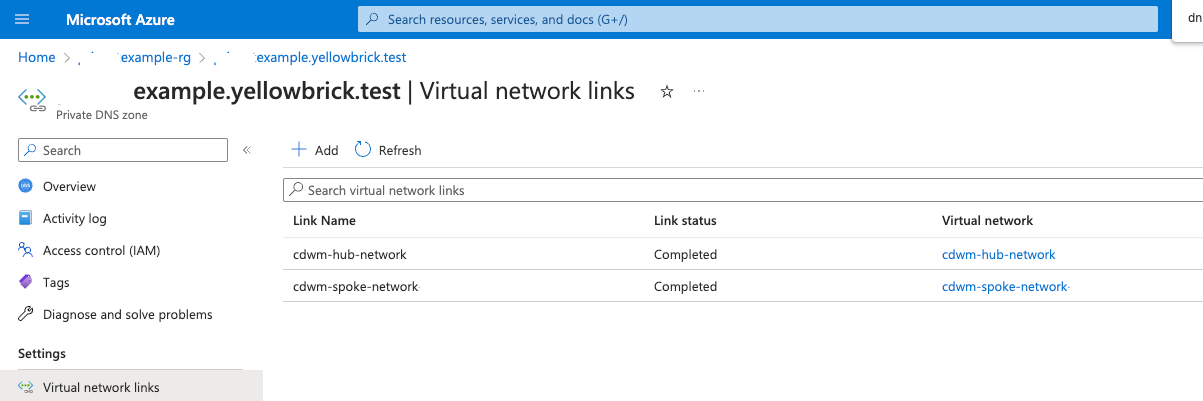
- From the newly created private DNS zone page, go to Virtual network links > + Add to create links to the hub and spoke networks.
Important: Azure DNS resolution will not work unless these virtual network links are created.
Parent topic:Preparing for a New Installation