Appearance
Deleting Deployments and Resources
Starting a new installation with a clean slate in your Azure environment is recommended. Before proceeding with a new installation, you need to delete the existing resource group and its resources. In theory, if the root deployment itself has been successfully deleted, everything that it created must have been deleted. You can view deleted resource groups in the Azure Portal by going to Monitor > Activity log.
Note: Before deleting anything via the Azure Portal, log into Yellowbrick Manager and delete your data warehouse instances (which in turn, will drop the clusters for each instance). If you do this first, you can avoid having to delete external storage volumes and buckets manually as part of the following procedure.
Warning: Deleting resource groups in Azure is irreversible. Use caution to ensure you are deleting the intended resource group and its accompanying resources.
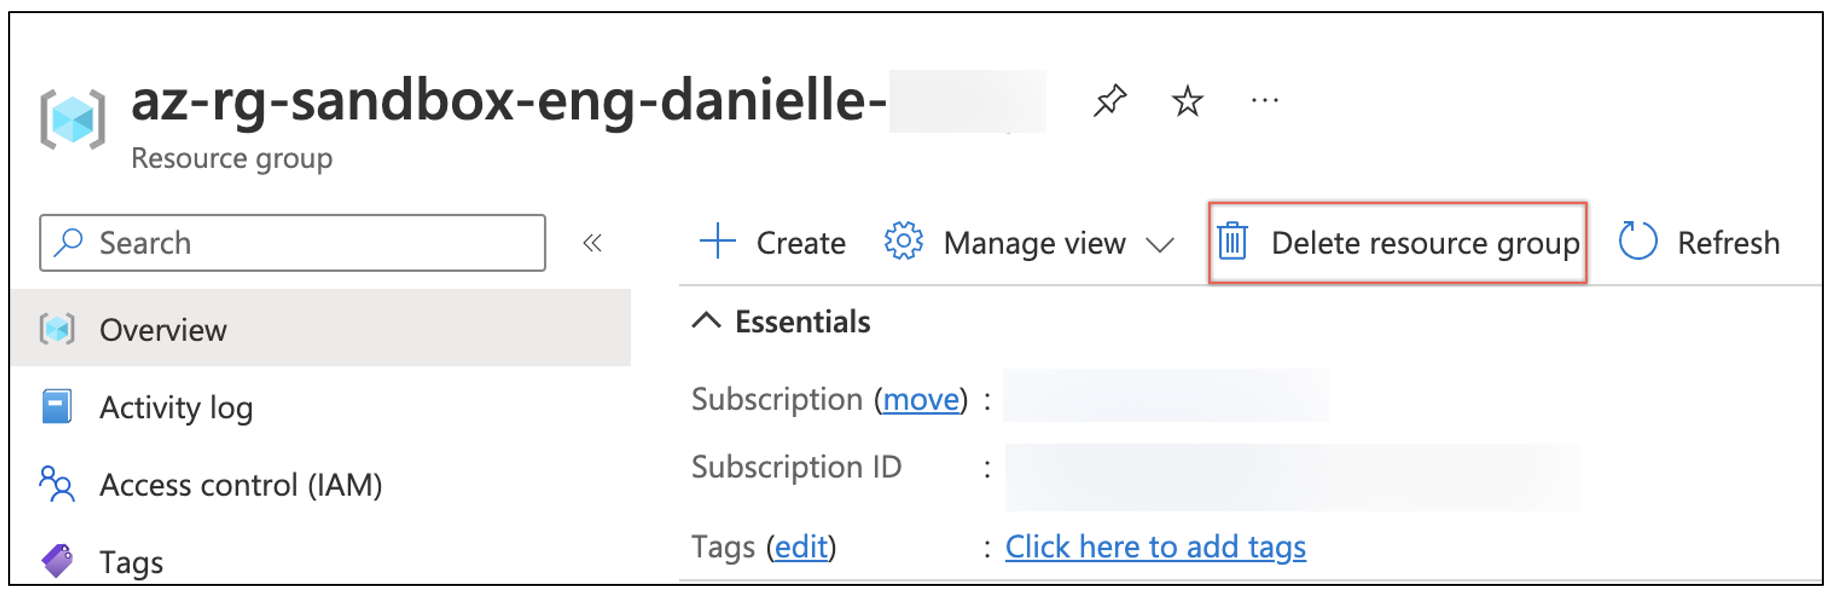
To create a new resource group from a clean slate, find and delete the resource group:
- In the Azure Portal, go to Resource groups.
- Select the resource group you wish to delete.
- From the resource group's page, select Delete resource group.
- You will be prompted to confirm the resource group name to be deleted by typing it in the provided box.
Note: You will see a green check mark in the text box if the typed name matches that of the resource group.
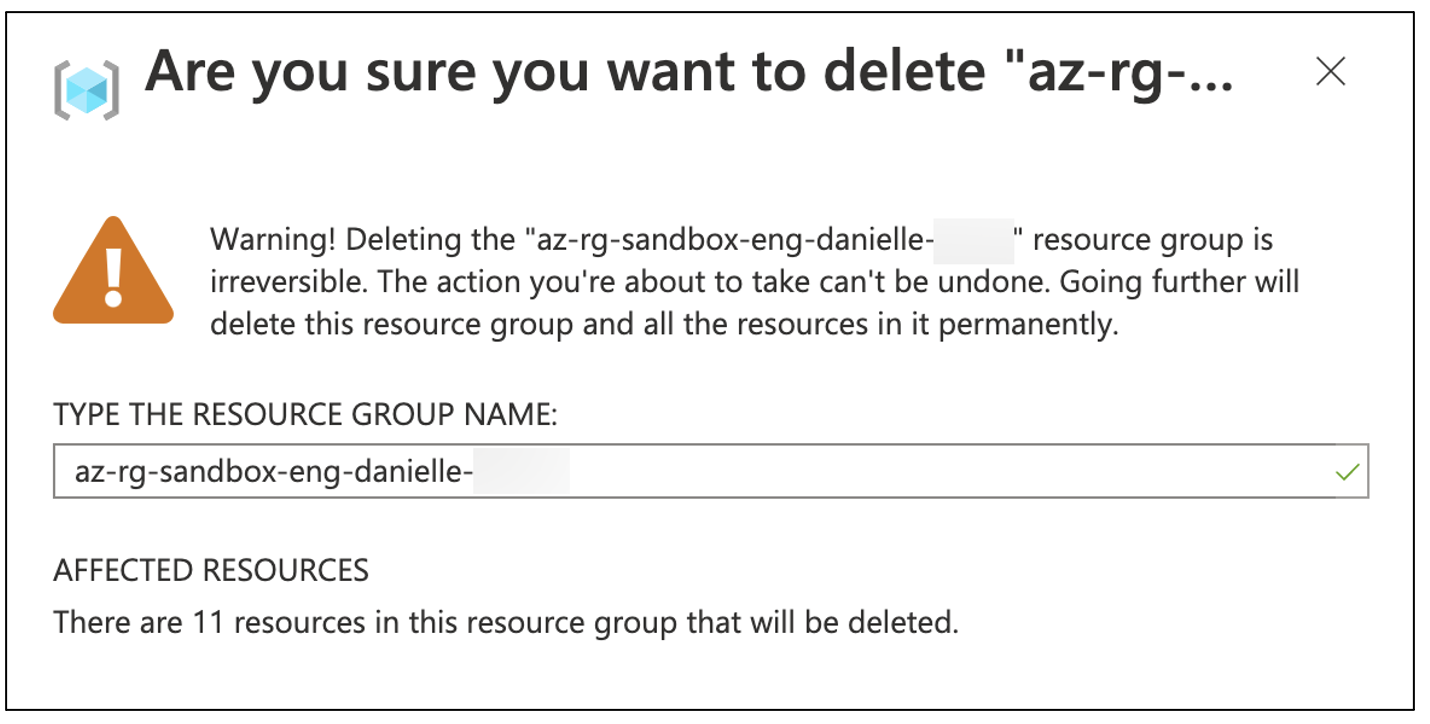
- Select Delete.
The deletion process takes 10-15 minutes to complete. You can monitor the progress in the Notifications tab.
- Once the deletion is complete, you must remove the record of the deleted DNS zone from the parent DNS zone.
To do this, first select Subscription from the Azure Portal search bar.
- On the Subscription page, select Settings > Resource groups from the side menu, and then select the appropriate resource group.
- On the Resource group page, select the DNS zone listed under Resources.
- On the DNS zone page, search for the DNS zone name of the recently deleted resource group.
- When you've found the record of the DNS zone, select the three dots to the far right of the row, and then select Delete.
Parent topic:Azure Deployment Guide for Yellowbrick