Appearance
Creating an Alert Endpoint
Endpoints define the method that will be used to publish alerts, who the recipients or subscribers will be, and how the contents of alert messages will be formatted.
In the SMC, go to Configure > Alerting.
Click Endpoints, then Create Alert Endpoint.
Enter a name and optionally a description. Leave the Enabled checkbox selected (or leave it disabled if you are not ready to turn on alerts via this endpoint).
Click Next and choose an endpoint type.
- Send Email
- Send an SNMP Trap
- Post to Web Service (http)
- Notify Yellowbrick Support
- Fill out the details for the endpoint type you selected, then click Finish. For example, to send email, you need to supply information about the email server and at least one email address. For details about each type, see Endpoint Types.
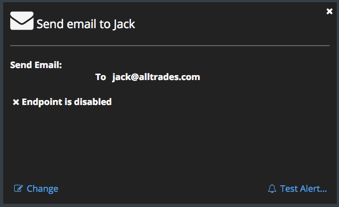
All new endpoints are automatically added for all system-defined and user-defined alerts. If you do not want to use an endpoint, disable it. You can still test an alert for a specific endpoint when it is disabled.
Send a test alert to verify that the endpoint is configured correctly. (You can test an alert for a specific endpoint when it is enabled or disabled.)
Click Test Alert in the bottom-right corner of the endpoint summary screen.
For example:
Note: If you click Test Alert in the top-right corner of the main Alerting screen, this alert will attempt to go to all of the enabled endpoints that have been configured for the system.
Enter a message.
Optionally, change the severity and enter a resource.
Click Send.
In This Section
Parent topic:System Alerts