Appearance
CLI Install Instructions
The Deployer CLI allows headless automation of the Yellowbrick installation process as well as more extensive customization of timeouts and providing additional options. To use the CLI, you'll need to have a working knowledge of cloud administation and be comfortable modifying JSON, working on the console and handling error messages.
To access the CLI, first to start the Deployer virtual machine by following the install instructions. Then connect via SSH to the instance, using the instructions provided below. Once connected, you can use the CLI in the /opt/ybd directory:
/opt/ybd/yb-install --help
A CLI tool for managing installation of Yellowbrick Instance

Usage:
  yb-install [command] [flags]
o
...
See the CLI reference and other documentation in this section for more information.
AWS Connection Instructions
Use the EC2 portal. Select the Deployer and click on the Connect button, then follow the instructions provided by AWS.

Azure Connection Instructions
You provided a SSH key during the creation of the Deployer, as it is one of its required parameters. Directly use this key to connect to the machine, with the user azureuser and the IP provided in the Deployer outputs:
ssh -i <private key> azureuser@<deployer IP>GCP Connection Instructions
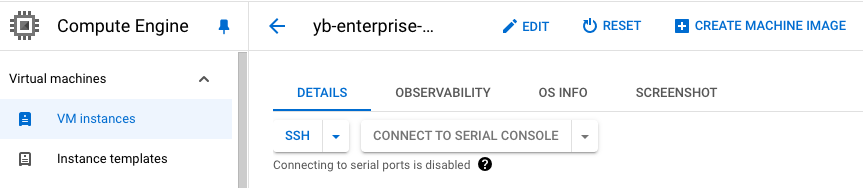
Connect to the Deployer buy using the VM Instances portal. Go on the Deployer details and click on the SSH button, then follow the instructions provided by GCP.